“Perhaps the most important aspect in the painting of any model is the preparation of the model and how you go about priming the surface ready for its final layers of paint”

With the internals complete, they could be fixed in place and the fuselage halves joined together – almost. Before committing the parts to the glue brush, any small gaps were first attended to. Why I chose to do this now is anyone’s guess, I just like to get any filling and subsequent sanding out of the way so that painted sections don’t become needlessly contaminated later on. Though the fit of this kit is on the whole very good, smaller areas such as the joint between the hump and the upper fuselage needed a dab of filler followed by a touch of Gunze Sangyo My Filler Primer, the latter applied using a fine brush, before being set aside to dry ready to be smoothed over with a sanding sponge.
Before joining the fuselage halves, the wings were assembled. This was a very simple job, the single-span lower section mating perfectly with the two upper panels, Clever design alleviates the need for much in the way of clean-up and so they can be joined to the fuselage almost immediately, some Tamiya asking tape and a couple of Berna Clamps ensuring that everything stays in place whilst the glue sets.

The intakes are moulded in two halves with a separate ‘mouth’ that in the case of this model, is painted in red to match the triangular waning stencil that decorates the side of the fuselage. Given that the intakes are white inside, grey outside and then red, it seemed sensible to keep that red piece separate and simply glue it in place once painting and weathering had been completed, thus cutting down on a very tricky masking job. To do this I had to ensure that the joint between the parts was perfect before painting and so I spent some time sanding their mating faces until no gaps could be seen. The last thing I wanted, was to try and join the parts and find an unsightly gap that needed to be filled, so time spent adjusting the fit was well worth it! So, with the parts fettled accordingly and the fit as precise as possible, the intake were sprayed white and then fixed to the fuselage and their respective ‘mouths’ sprayed grey, masked and then painted gloss red, before being set aside to dry.
With the airframe all-but complete, time could be spent checking for flaws before adding some of the smaller details I was confident, would not be broken off during painting. These included the underwing pylons (fixed into pre-drilled holes), electronic lumps and bumps, upper fin and two of the smaller undercarriage doors that line the rear of the main undercarriage bays.
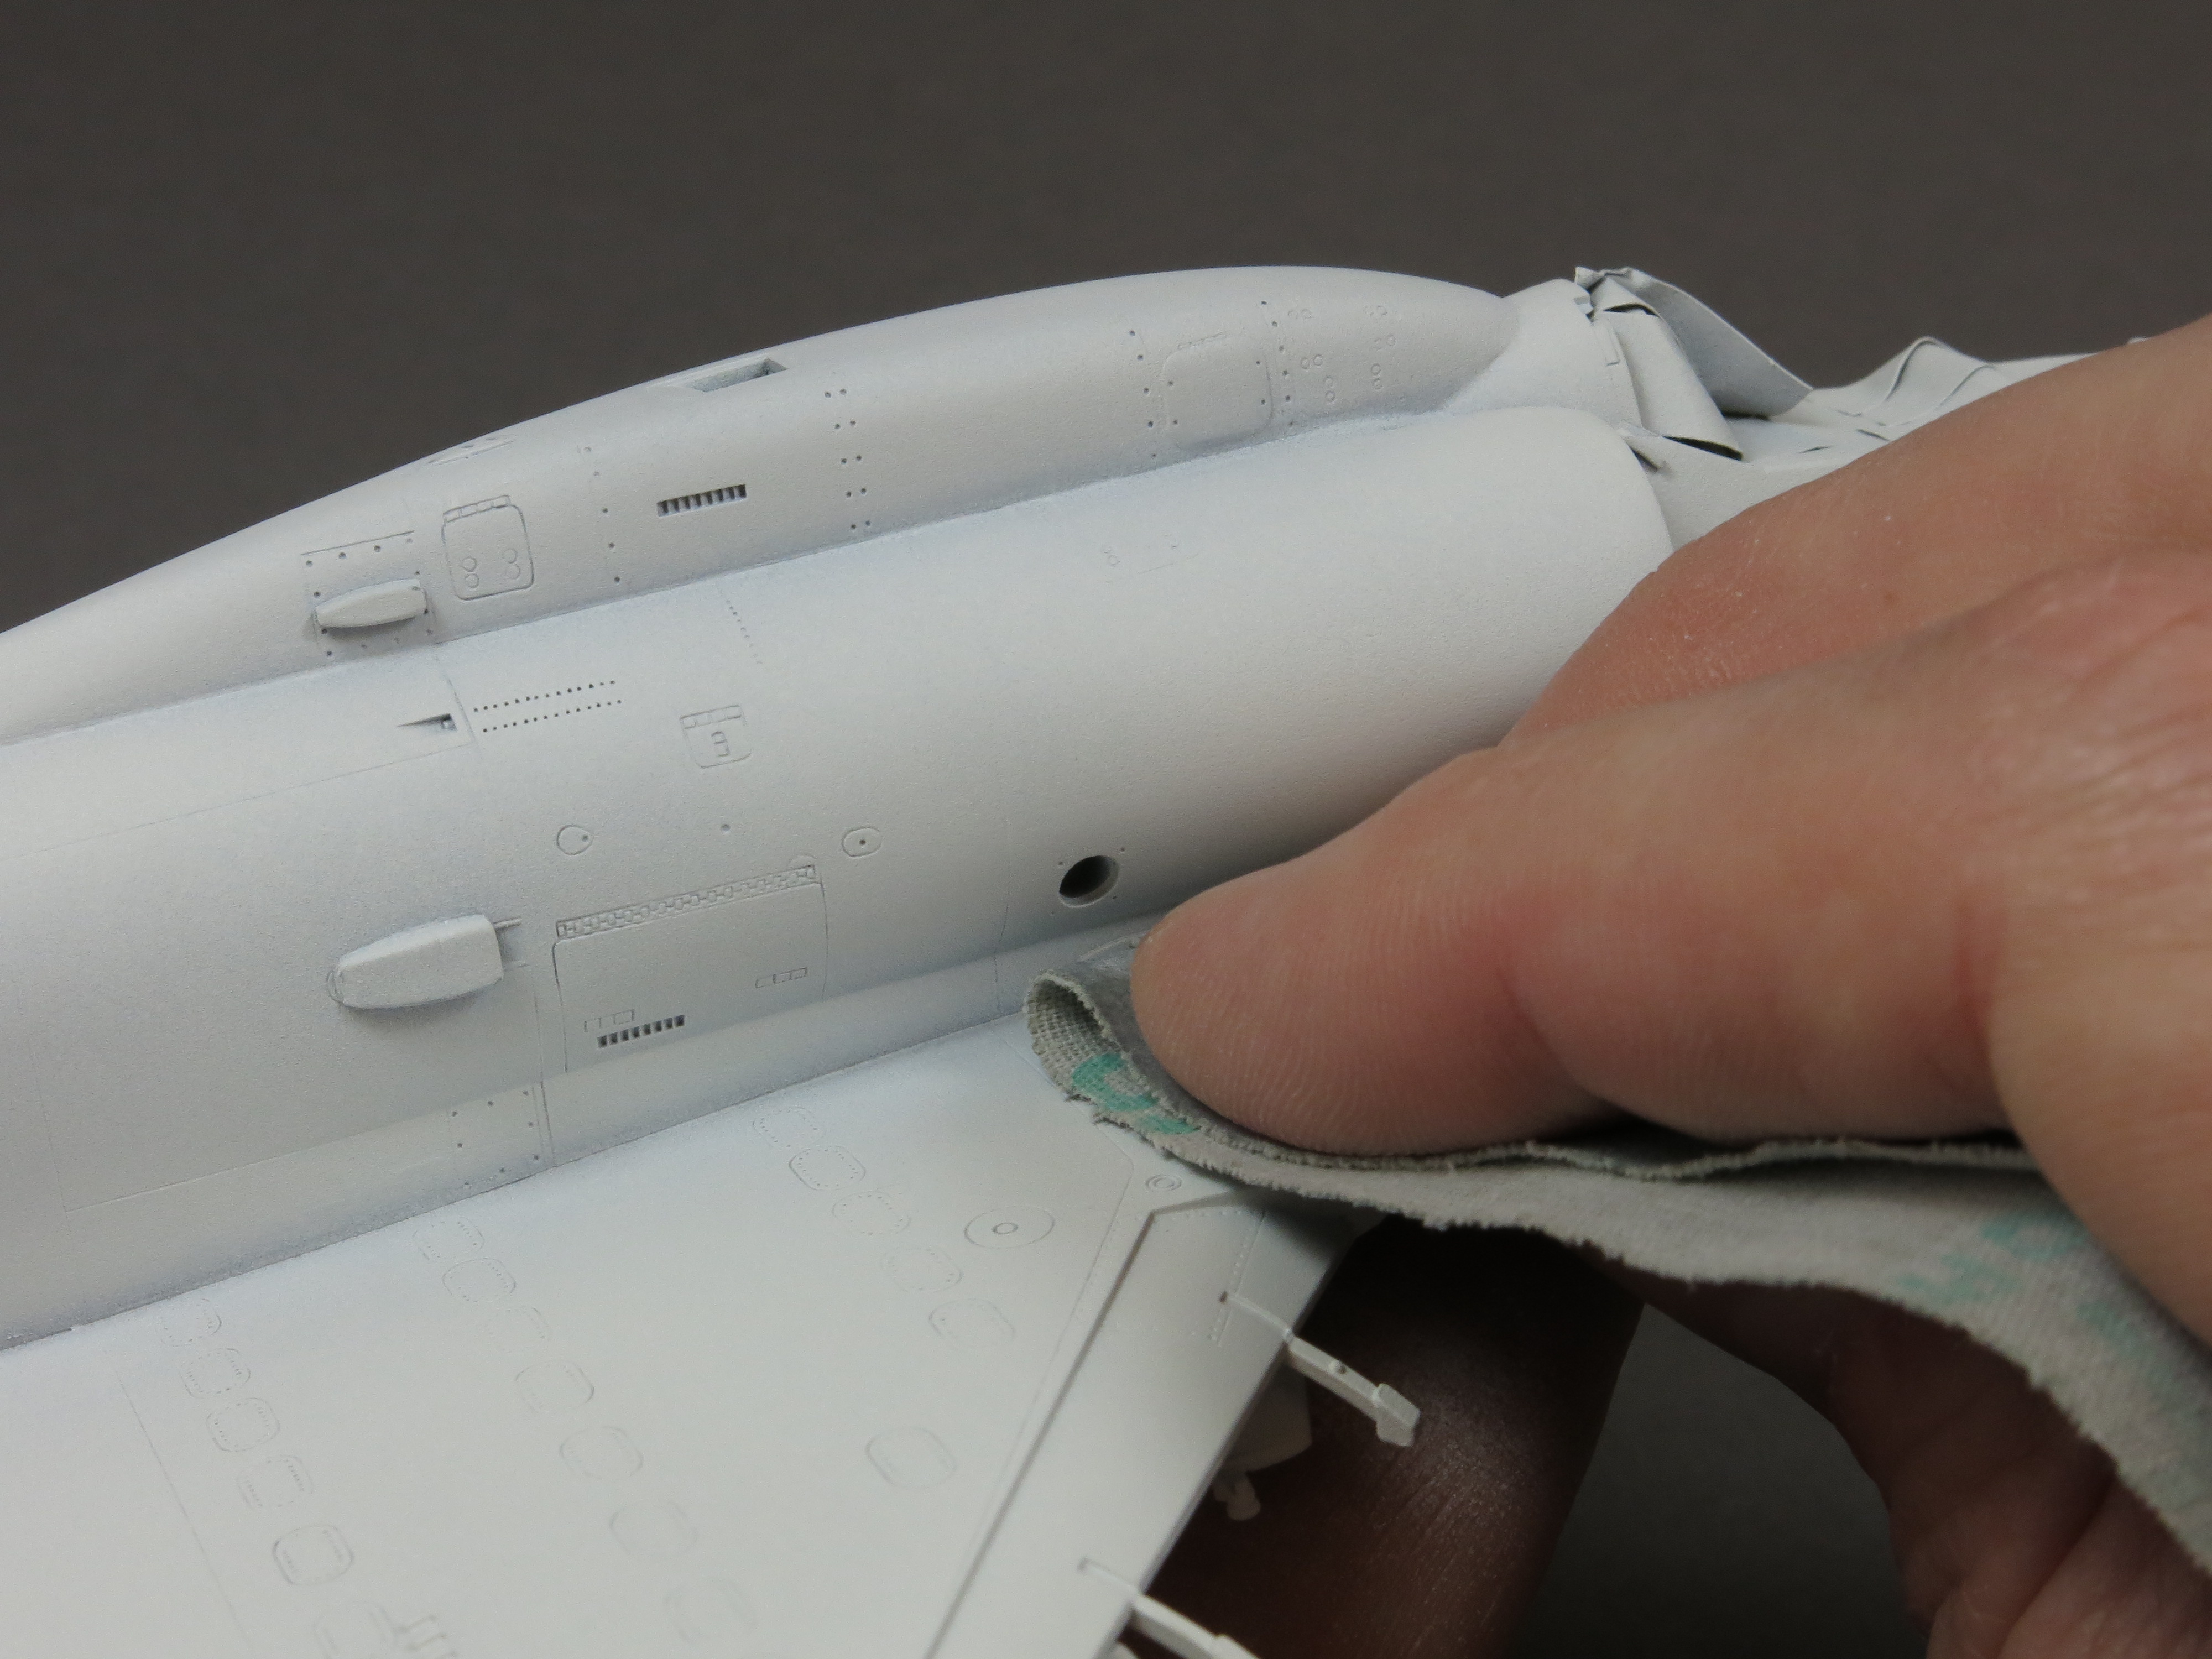
Perhaps the most important aspect in the painting of any model is the preparation of the model and how you go about priming the surface ready for its final layers of paint. Many modellers simply apply the camouflage to the bare plastic, but I’ve always worried that I would miss a constructional flaw and so always apply a layer of primer, check the model, correct any mistakes, apply more primer and then sand the surface smooth using Micromesh and fine Scotchbrite finishing pads.

On this model I found several areas that needed to be sorted out: the joints between the intakes and the fuselage; between the wings and the fuselage; lower fuselage and wing and that electronics hump and upper fuselage. None of these gaps were particularly nasty, just annoying and so I used a smear of Humbrol filler, sanded smooth and then ‘finished’ with Mr Filler Primer. The model was now ready for a final, thin coat of white primer, before being sprayed in its Gull Grey over white camouflage.
Next Time…
…We’ll paint and weather this imposing little model. See you, then!

Any tips on sanding primer? OK it’s easy on flat areas but getting in corners and dealing with raised detail where it is so easy to knock it back to bare plastic. I have a feeling you’re going to tell me there are no easy answers…
LikeLike
I normally sand my Tamiya primer with a green scouring pad. You know the one you use to scrub your dishes. The Tamiya primer is tough and no issue sanding.
Many years ago I found out that the fine woodworking guys use this lots for finishing before they stain their wood projects. There is a store here that sells several different grades of scouring pads and I bought a selection of them for my modelling.
LikeLike