
In essence, these are almost photographic depictions of real concrete hard stands that you cut out and then glue into place.

Several weeks ago I completed my version of Eduard’s superb 1:72 Fw190. Deciding to take it to Dublin for a show, the need arose for a base on which I could show the model off to its best advantage. This is how I went about doing that.
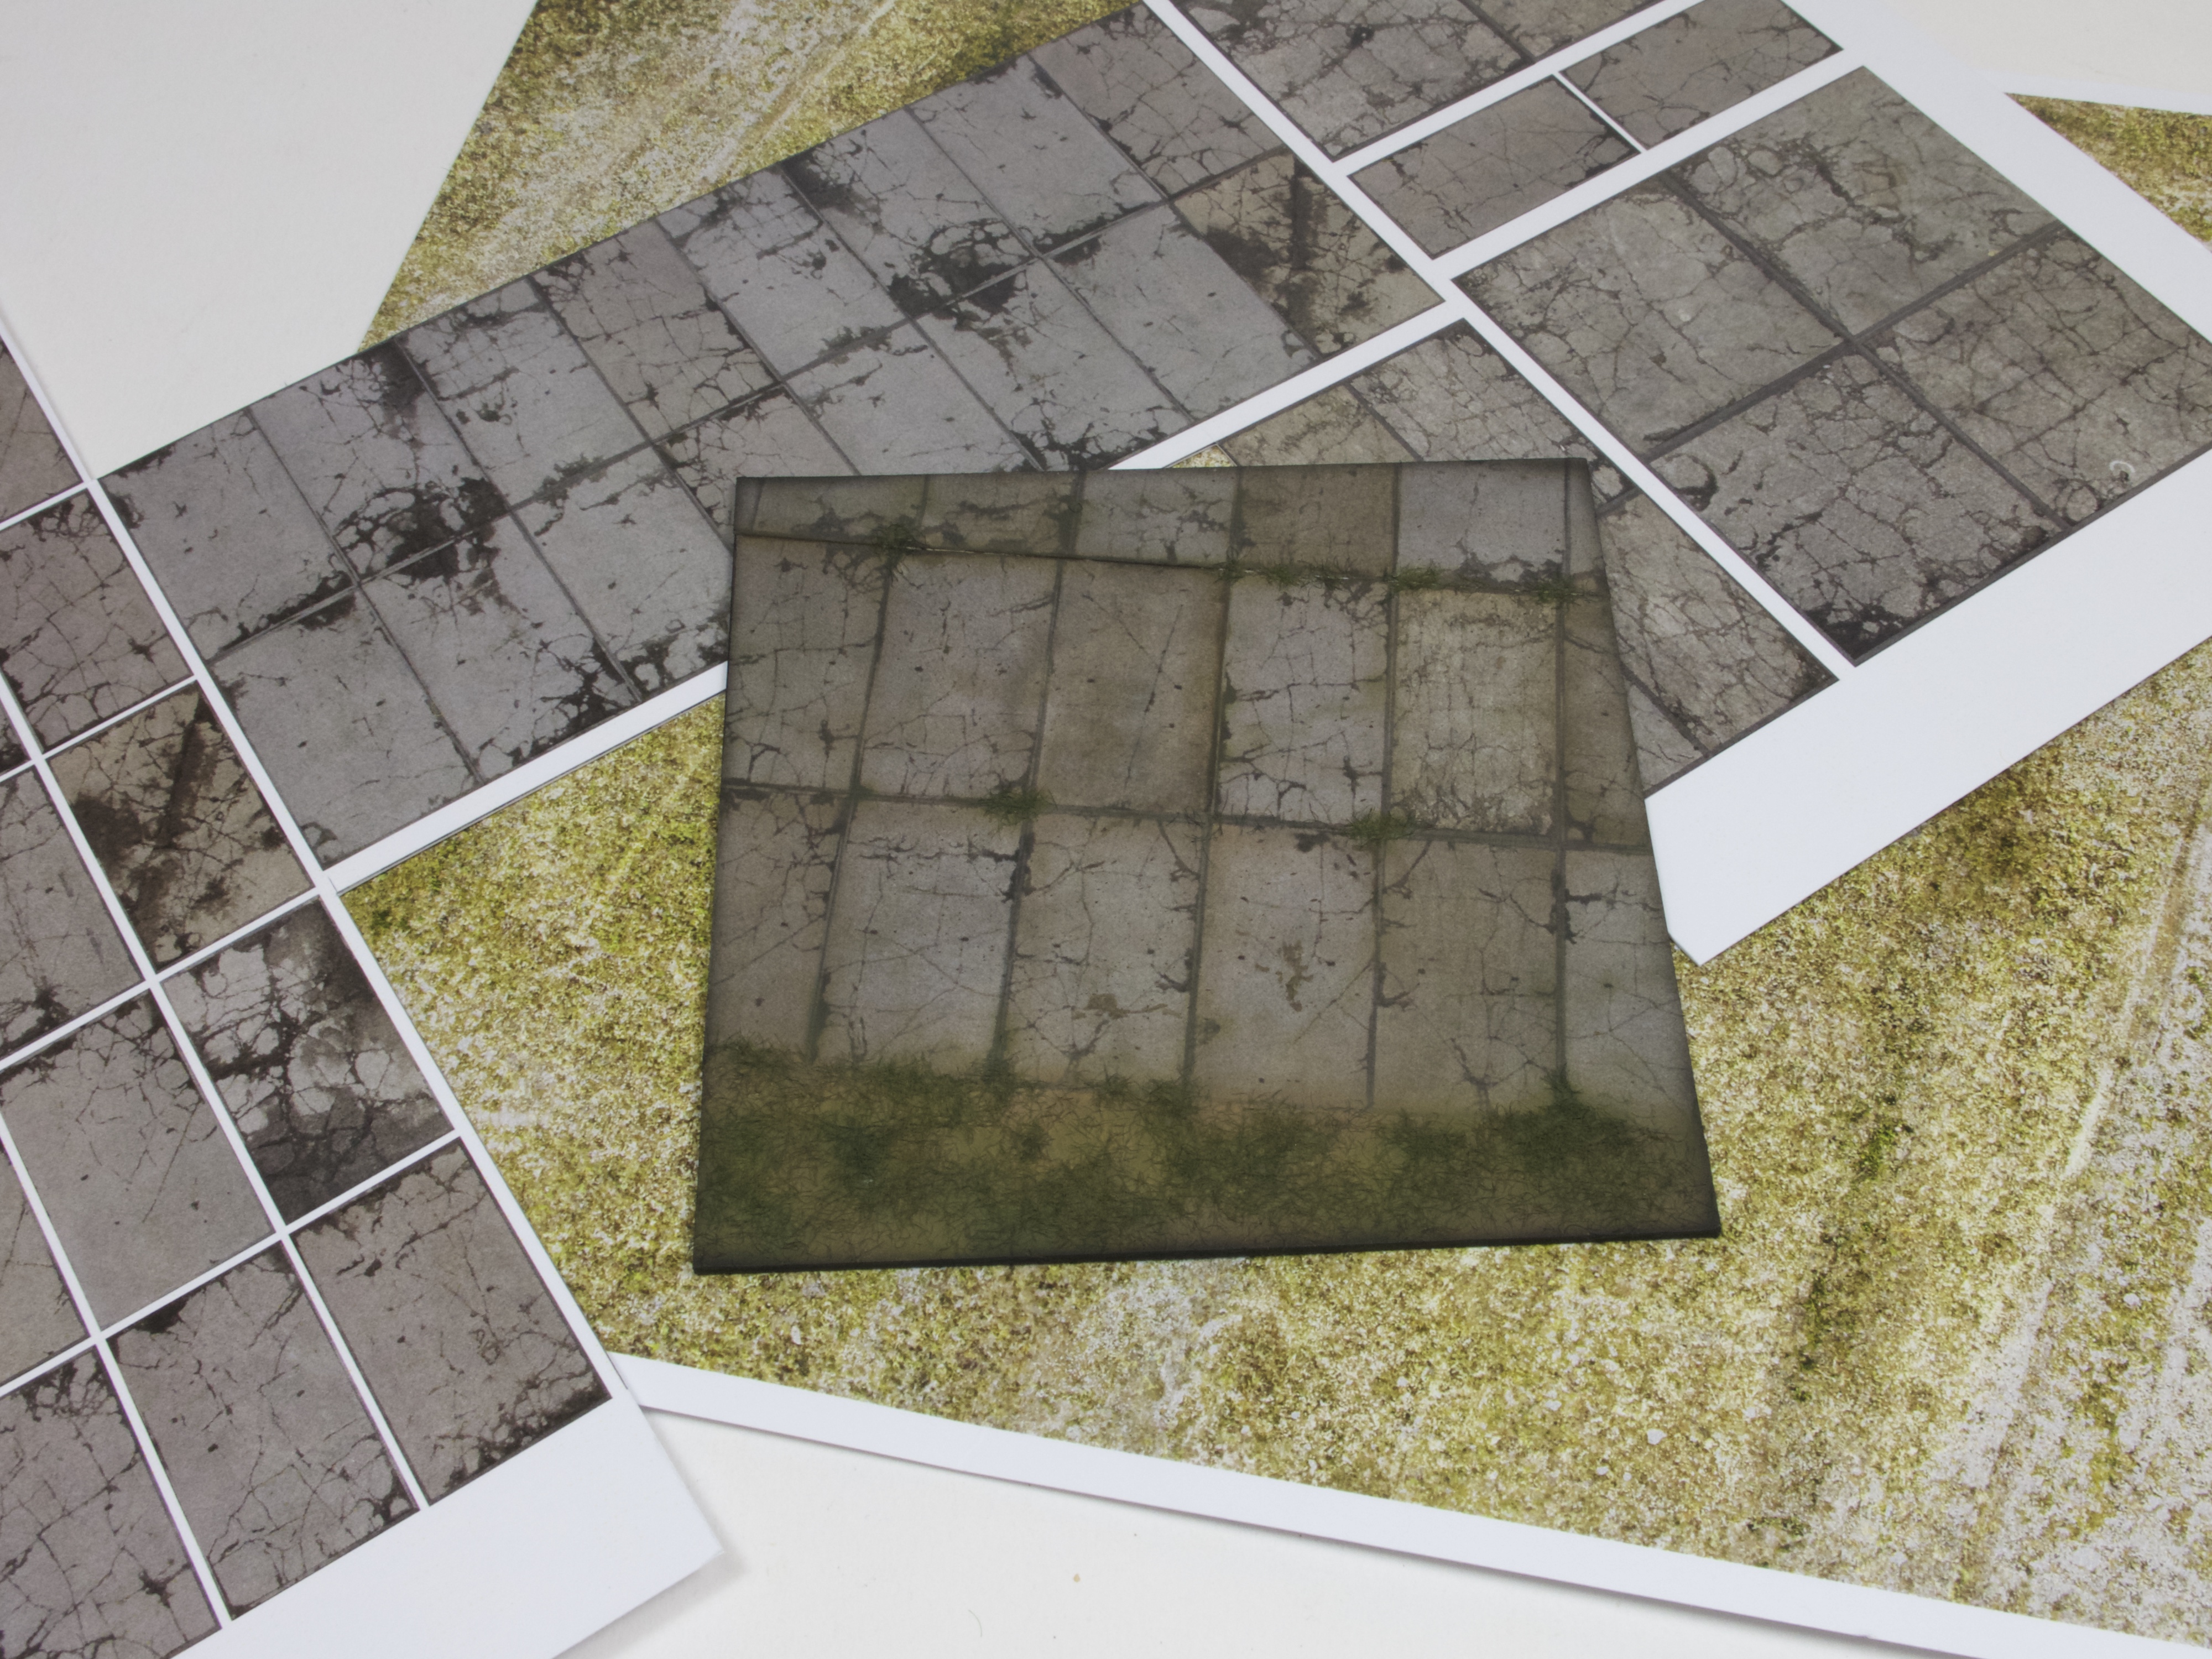
My good friend Alex from Uschi Van der Rosten had sent me some of his beautiful, printed hardstanding sheets, so I decided that I would try one of those out. In essence, these are almost photographic depictions of real concrete hard stands that you cut out and then glue into place. You then surround them with either your own groundwork, or in this case, some of the pre-printed ‘grass’ sheets supplied in the pack. So, this is what I did.
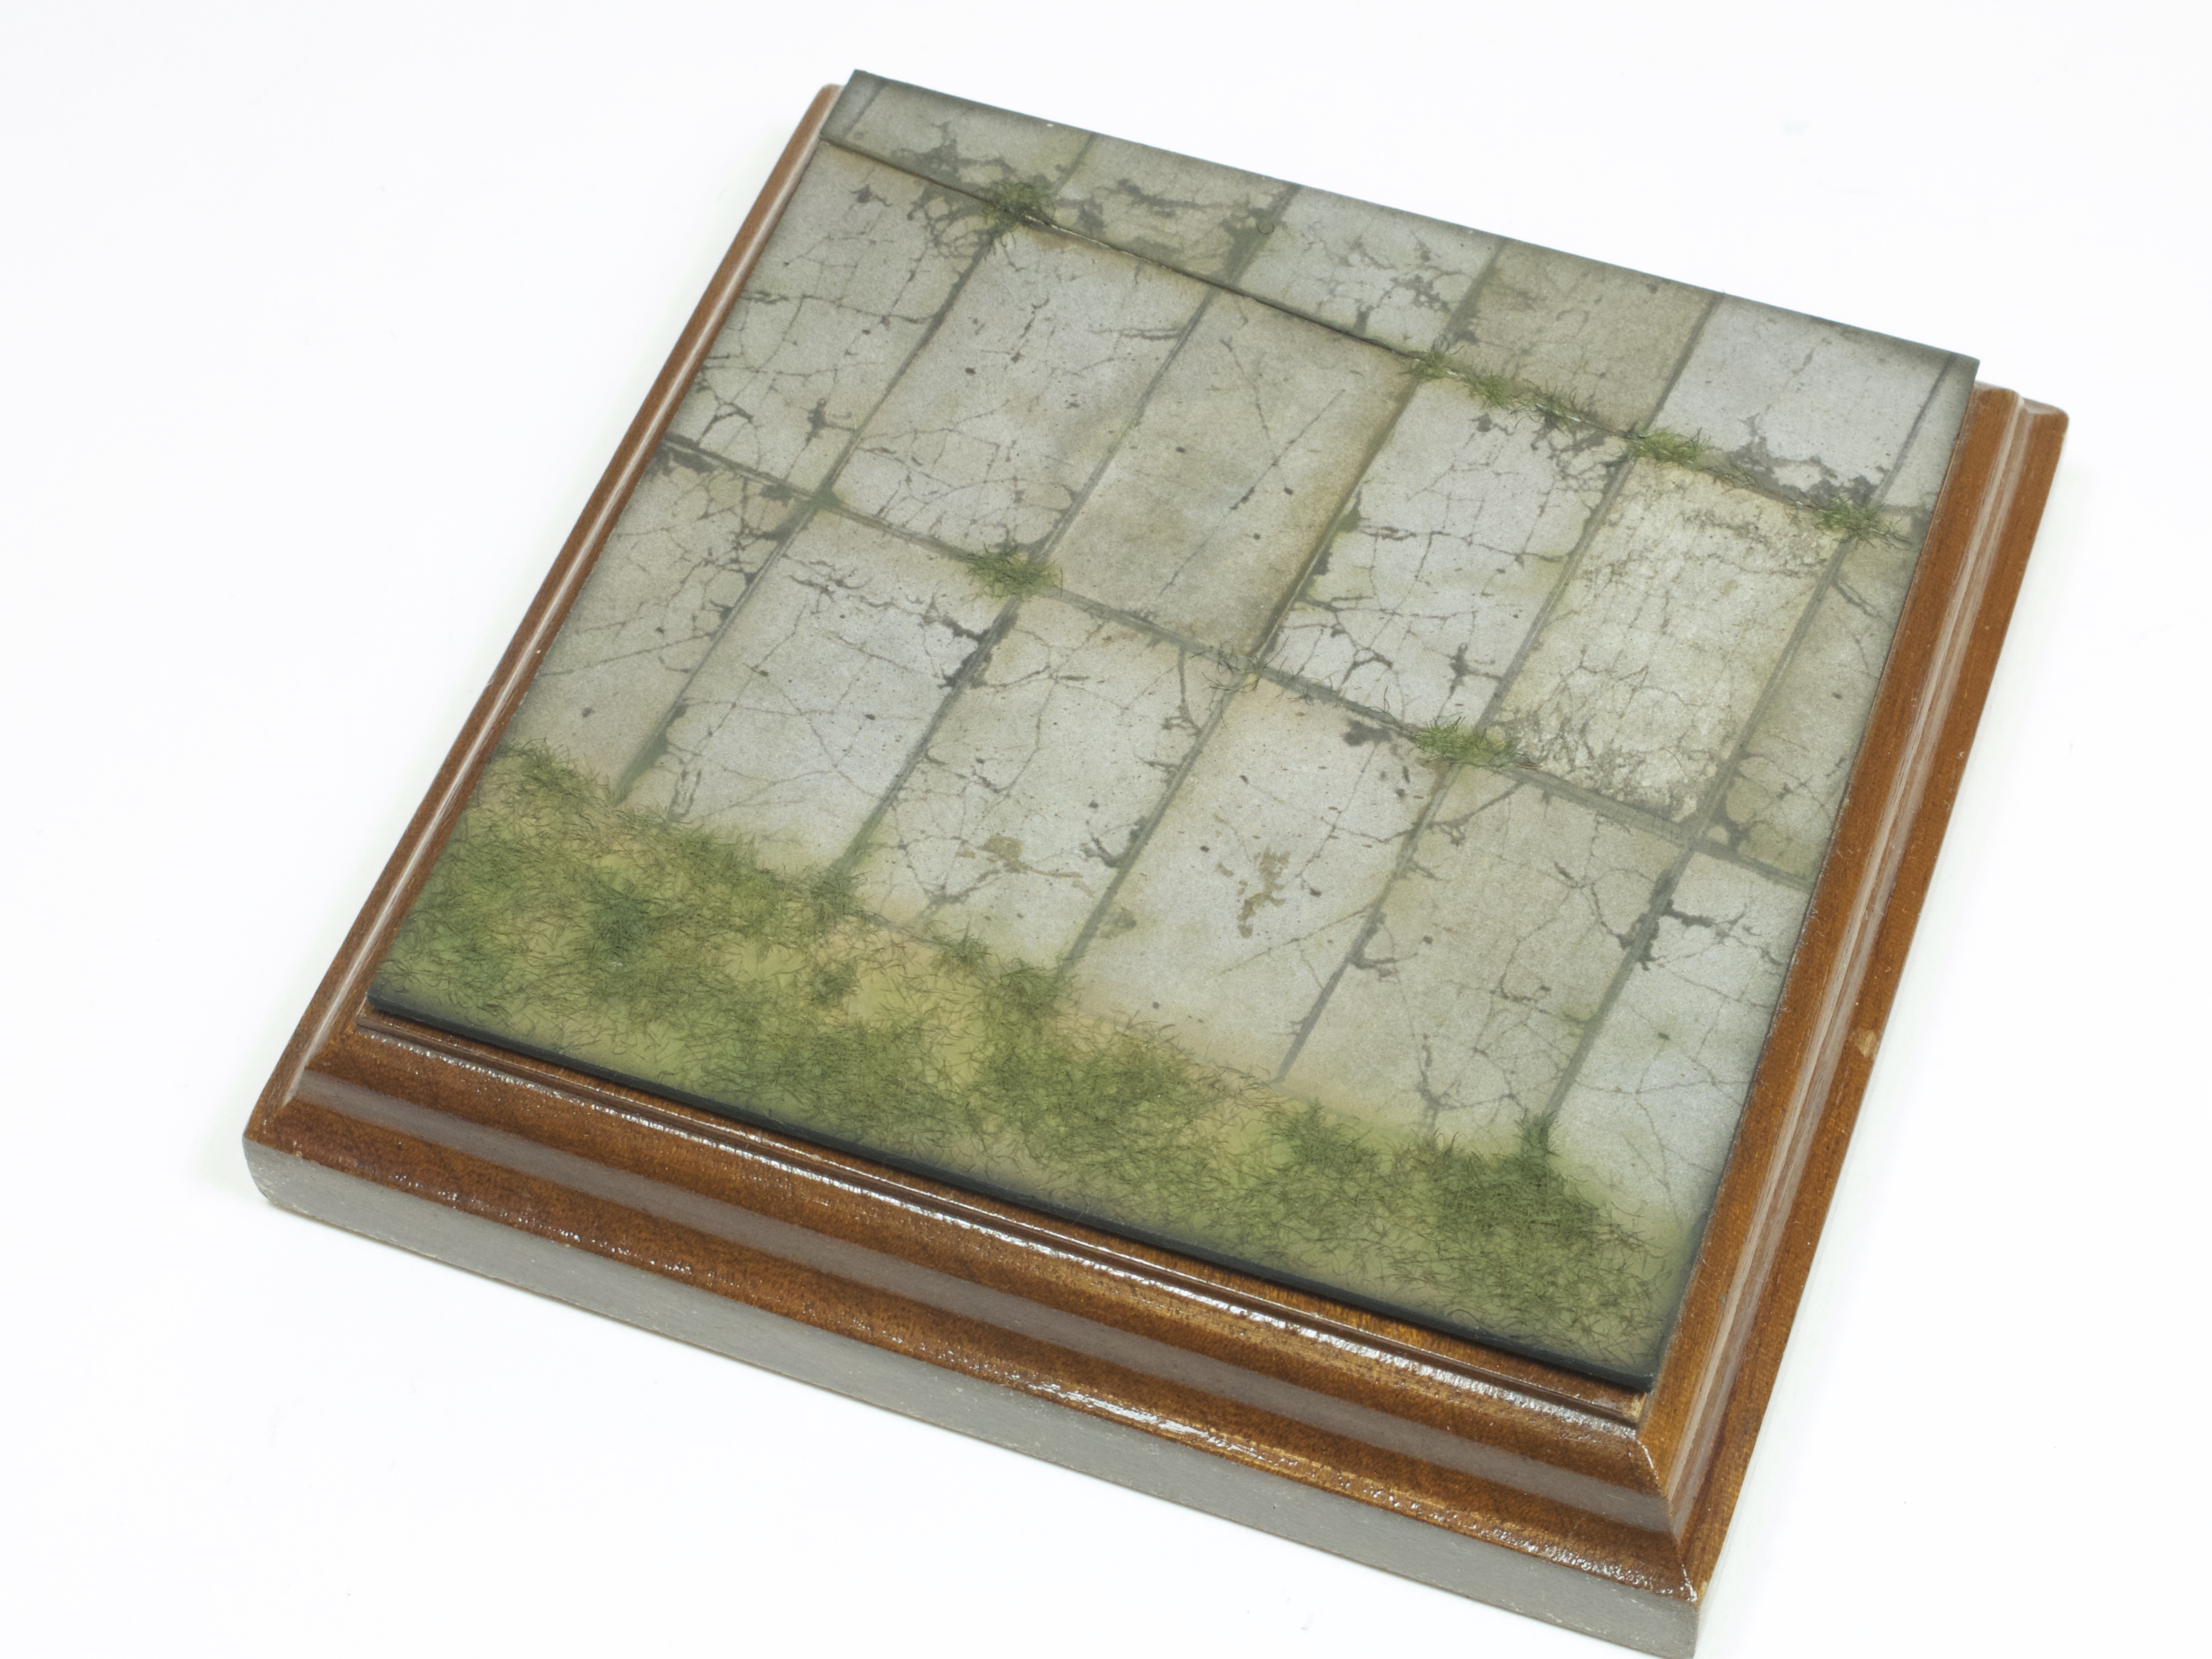
With the sheets laid down onto a measured square of mount board (held in place with double-sided sticky tape), some PVA glue was applied and then this wet adhesive was sprinkled with static grass and left to dry. Although the grass looked reasonably fine at this point, it was decided that in order to have it match the look and finish on the model, it would be painted, so the ground was airbrushed in Tamiya Flat Earth and then the grass in NATO Green, highlighted with Yellow Green. The edges of the card could then be sprayed in Flat black, before gluing the card sheet to the chosen wooden base.

And that is how simple it is to create a neat little display base for you models!
Here is a list of the materials used:
Small wooden plinth.
Double sided sticky tape.
PVA Glue.
Tamiya – XF-1 Flat Black, XF-67 NATO Green, XF-4 Yellow Green and XF-52 Flat Earth.
Uschi Van der Rosten Scenic Display.
Useful Address
http://www.uschivdr.com/shopping-categories/shop-display-diorama/


1
LikeLike
1����%2527%2522
LikeLike