
In terms of what is needed within an enclosed space such as that found at the front end of a Beaufort’s fuselage, I can see little extra that needs to be added
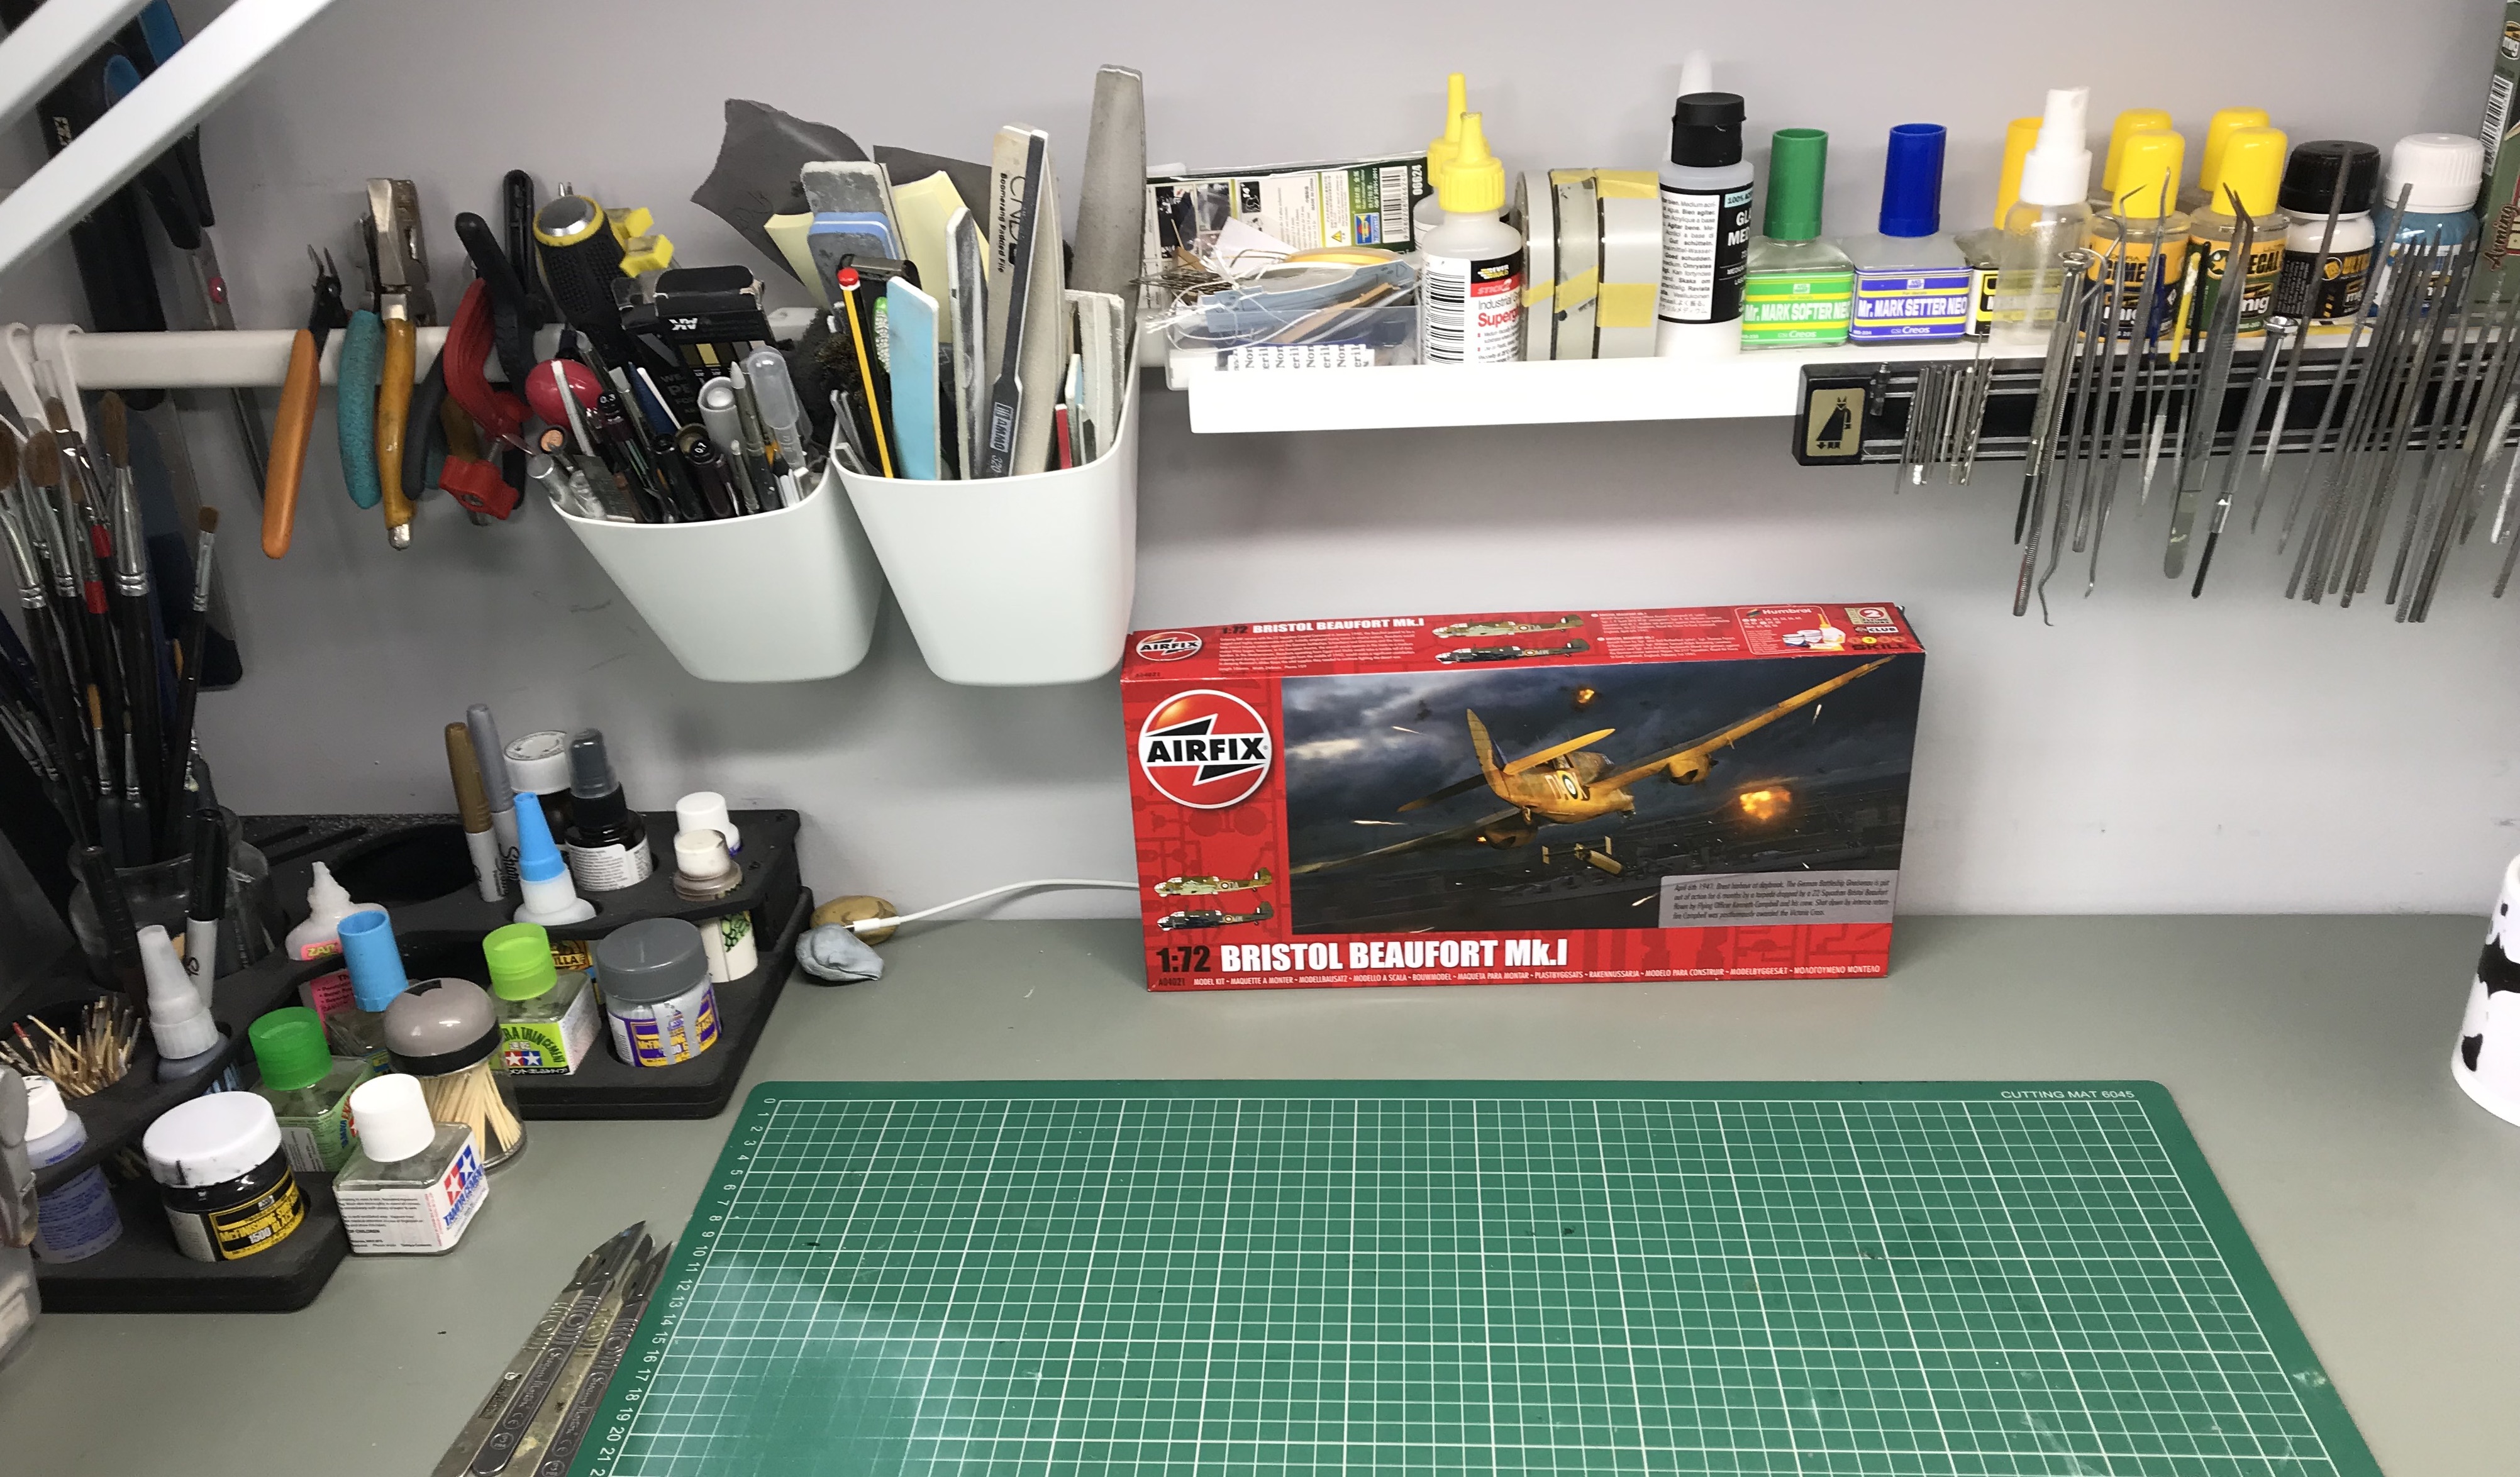
Having opened up my part of this group-build with an explanation of our plans and then a look at the kit, this morning I’ve taken the time to tackle some of the sub-assemblies, most notably, the interior.
I mentioned this part of the model in my earlier preamble, so it’s good to be able to flesh that out somewhat with some further thoughts. The cockpit is the first item on the to-build list and that’s where you get a sense of how the kit will look once complete and how it will go together as that journey is undertaken.
Detail is superb. There really is no other way to describe it. In terms of what is needed within an enclosed space such as that found at the front end of a Beaufort’s fuselage, I can see little extra that needs to be added. You can see what that means in the accompanying pictures and though there are a few ejector pin marks and a little heavy-handedness around a couple of the parts, much can be used as-is. I mentioned that the rear fuselage is all-but invisible within the rear fuselage, but that is not strictly true. With the option to mount a machine gun in a removed hatch just above the wing, there is the chance to see a little more within the confines of the interior space, but not much. Still, it’s an interesting feature and one that I will include, so some careful painting will take place of the opening to get the best from what’s on offer, detail wise.
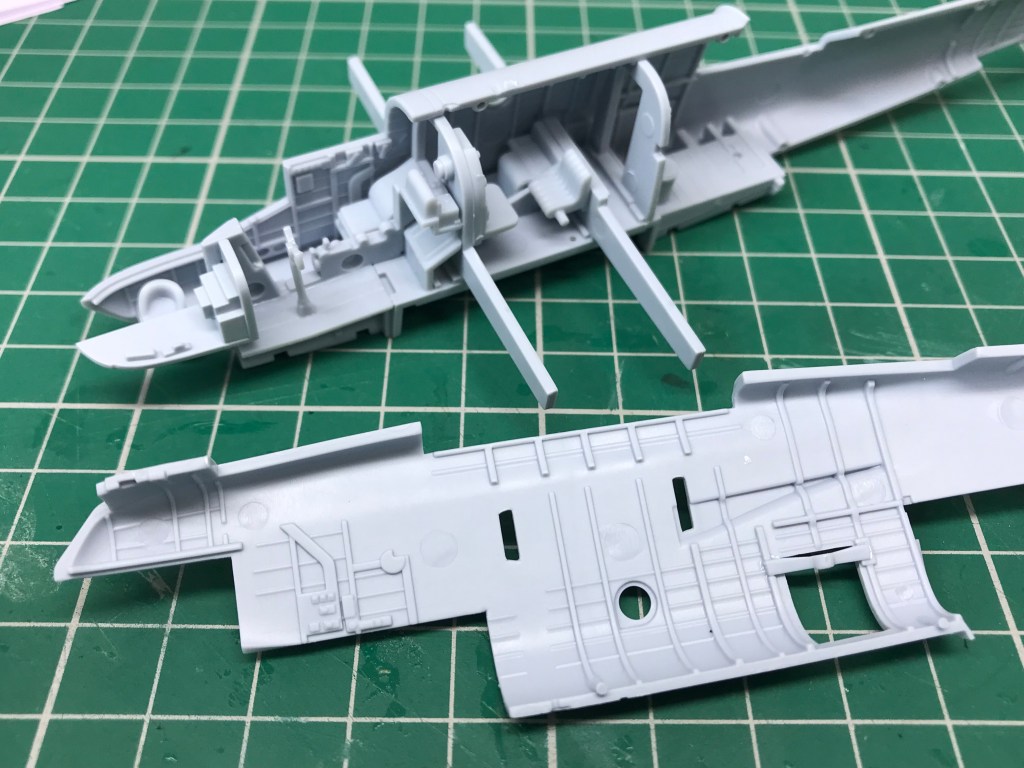
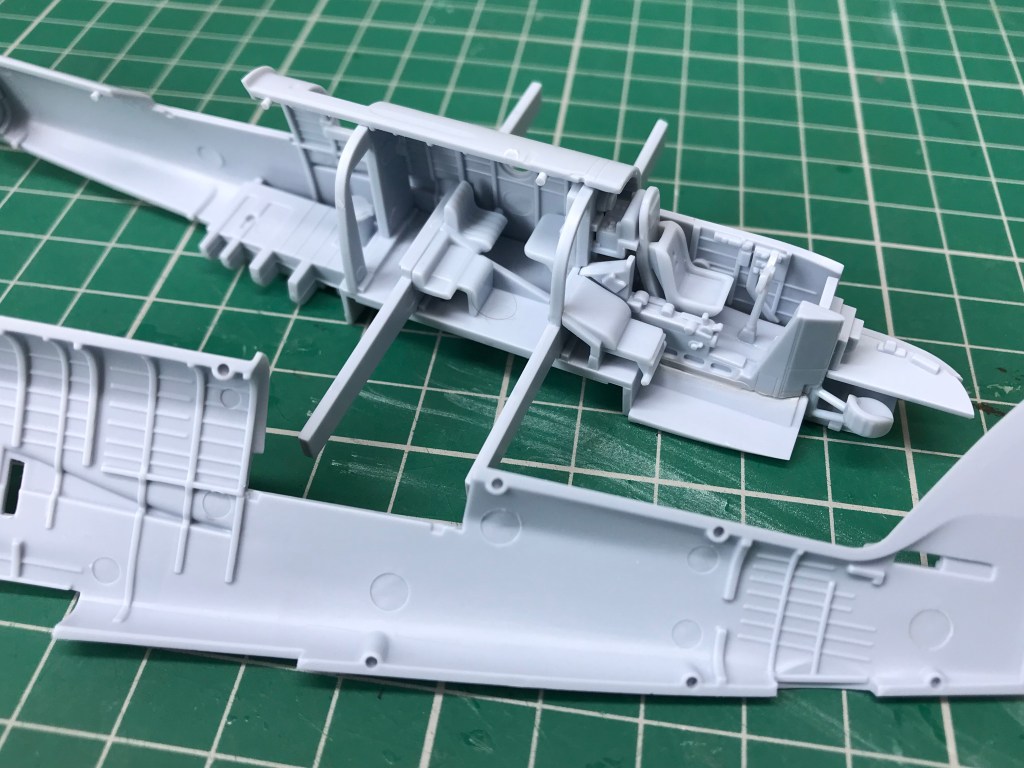
Assembly is child’s play. I know that both Drewe and Jen have completed their cockpit assemblies, so I was keen to see how mine would all go together and I have to say that I was really impressed. A fair number of parts there may be, hassle bringing them together, there is not. Inconspicuous tabs align most of the parts, the instructions explicitly detailing how each joins and at what angle. The instructions also allow for additional parts to be added later on, but experience and a few dry runs here and there precluded such a belt and braces approach, parts such as the rear bulkhead being glued in place along with everything else so that it could all be painted in one go without the need to faff with separate parts down the track. Again, take a look at the images to see what that means in practice.
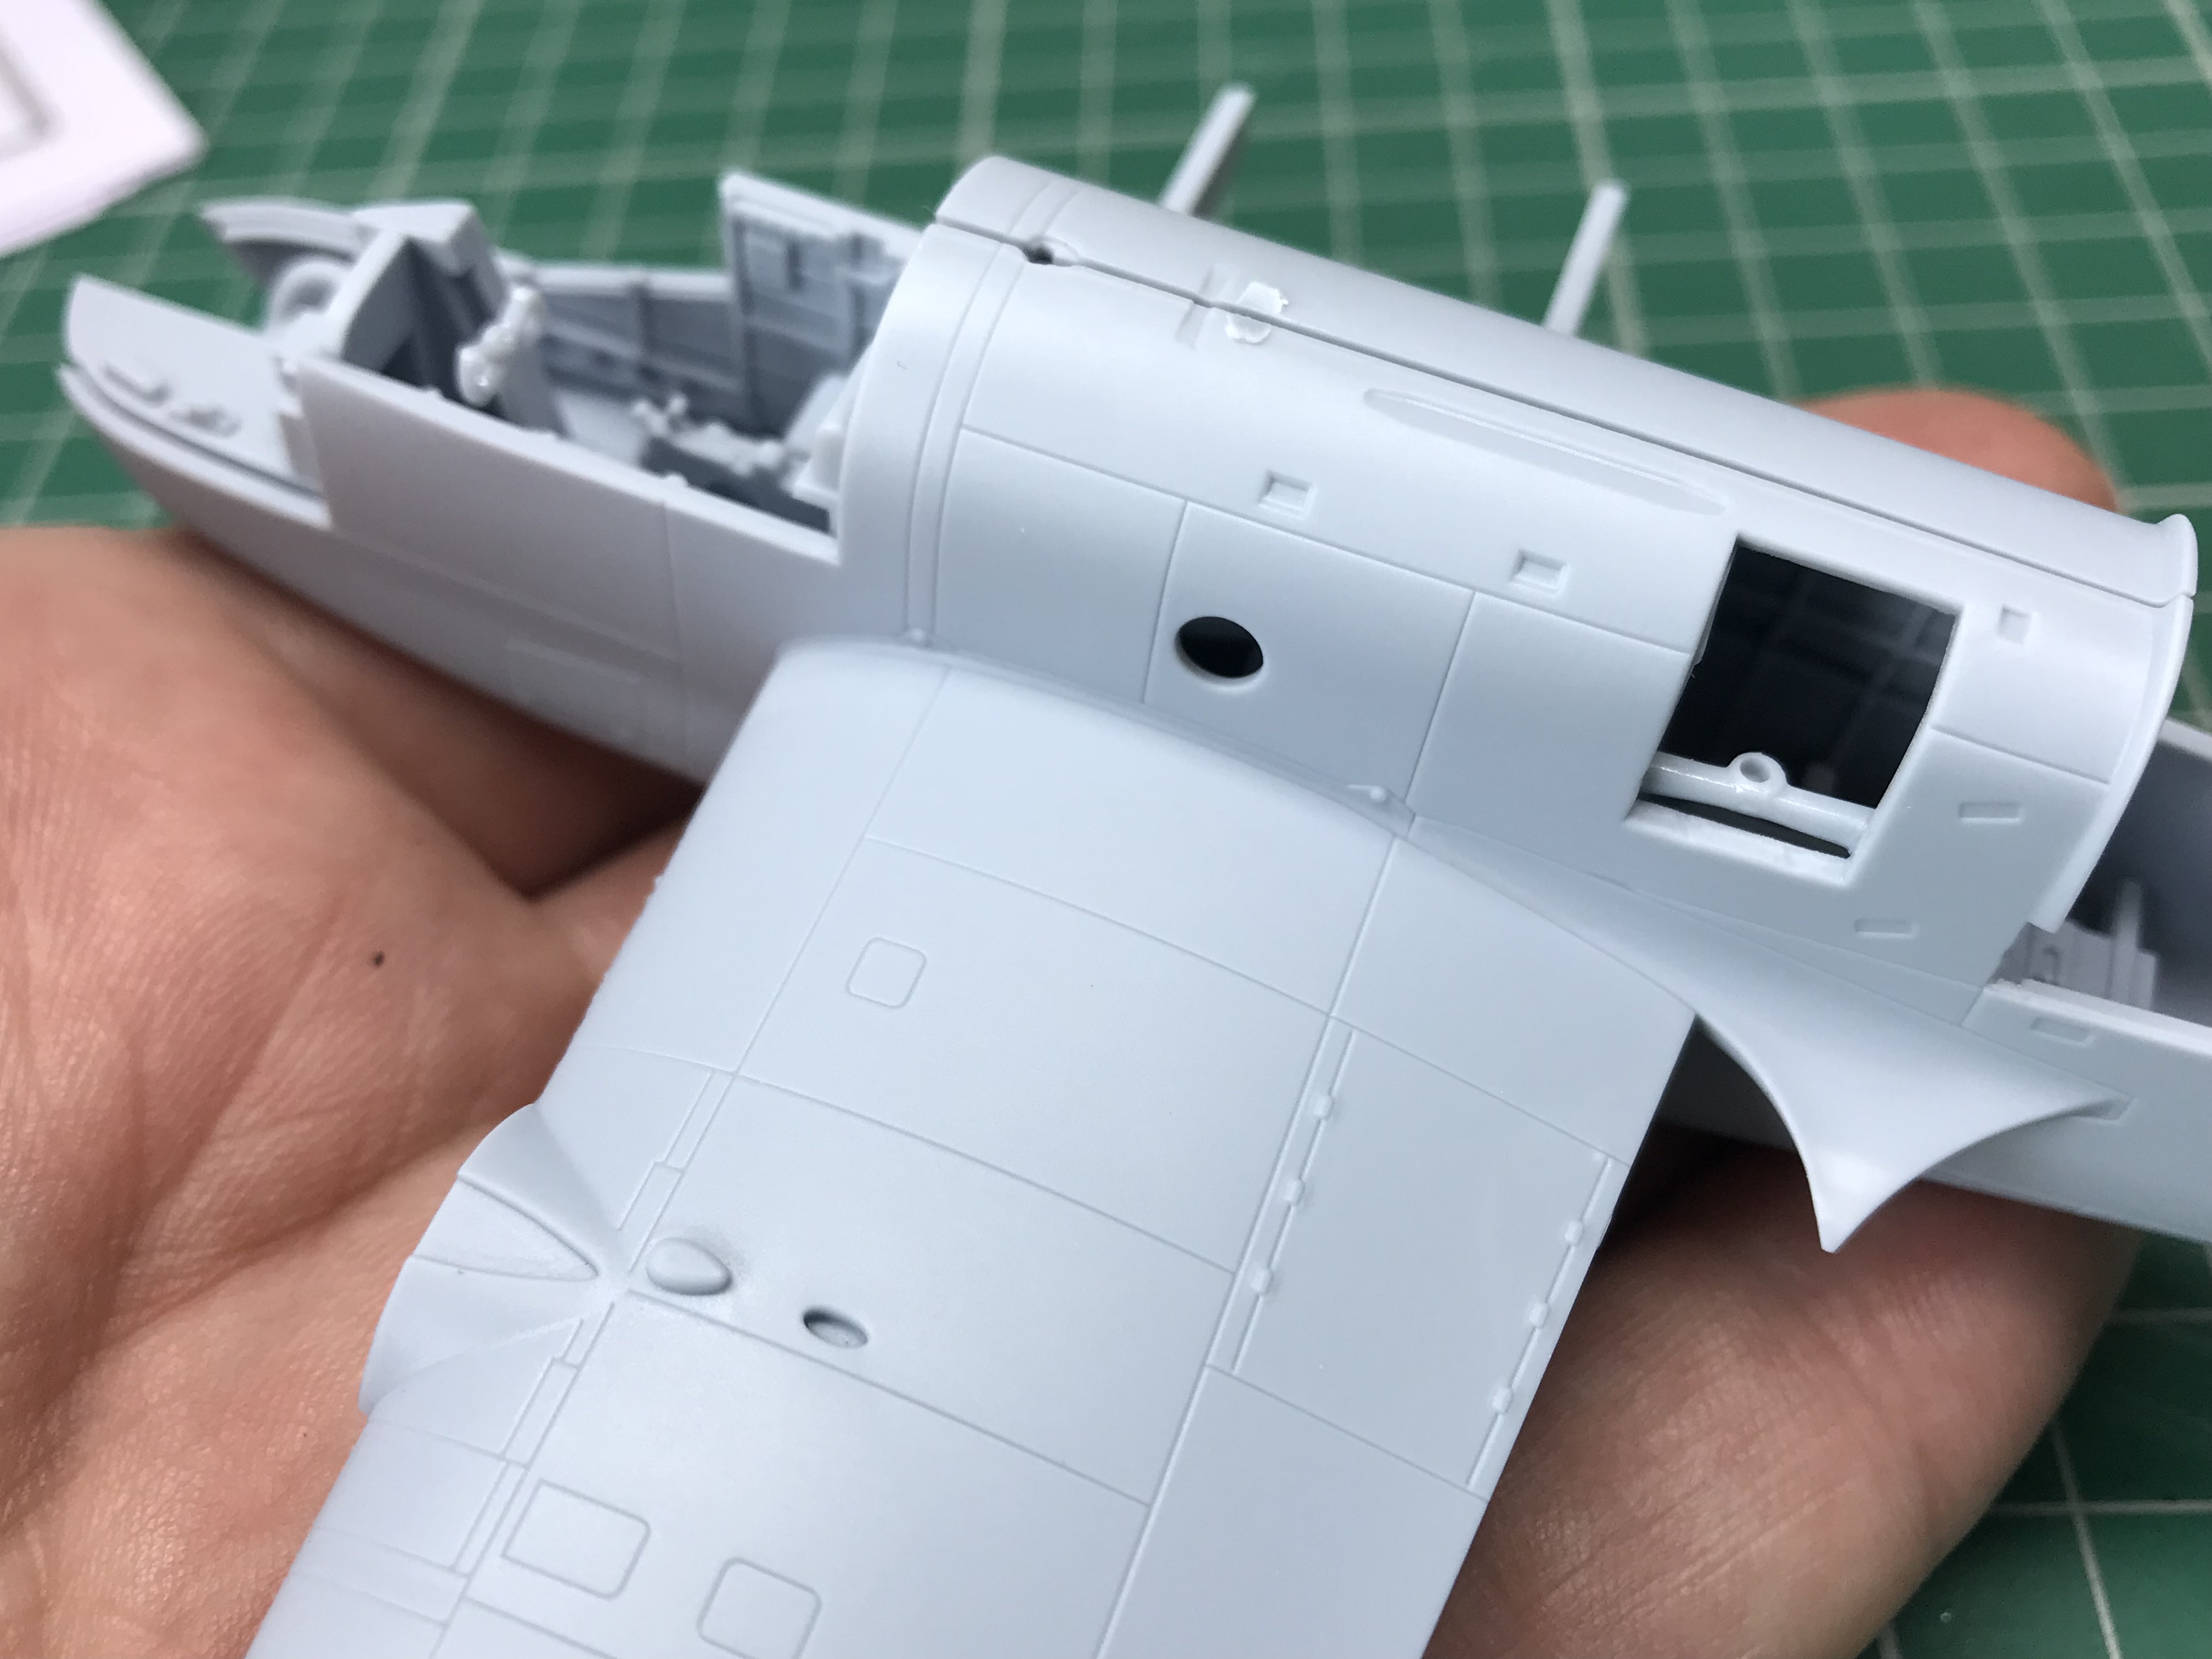
Internal fit may well be impressive, but it is around the airframe that I’ve really been impressed. Drewe had mentioned in a broadcast over the weekend how well the wings and fuselage joined, so I was keen to substantiate that claim. He really was spot-on, with a joint that is a tolerant as you could possibly hope for. Indeed, this looks to be one of those kits that can be assembled in sub-assemblies, painted and then brought together during final construction. Given that my model will be in natural metal and will involve not only lots of masking, but also riveting after the paint has been applied, I can see that being something of a bonus!
So far so good then.
See you next time…
FURTHER INFORMATION
If you like to read more about this kita nd perhaps order one to build yourself, please check out the Airfix Website.

A LITTLE VULGAR SELF-PROMOTION!

Here’s the link!
https://thekitbox.org/2021/07/16/the-legacy/
I am currently in the process of finishing off a new book that will be printed within the next few weeks. Covering the first part of my ‘Legacy Collection‘ from last year, the book will cover the construction and painting of four 1/35 dioramas. If you would like to know more, and perhaps even buy a copy for your library, please take a look at my earlier update by clicking the link above where you will find plenty of additional information. I look forward to hearing from you!

This looks quite nice for 1/72 – glad it is going together well. I have a 1/48 Classic Airframes Blenheim IV I want to do so I shall be eavesdropping in to see colors and detail painting as you go….. Press on!
LikeLike
Dittos. I am pleasantly pleased with the newly tooled Airfix kits. So far, I have only managed to build their new P-51D, but it is hard to beat the quality for the price. Looking forward to the end results!
LikeLike
That does look a very detailed cockpit area. I think Airfix have done a lovely job on this kit.
LikeLike