
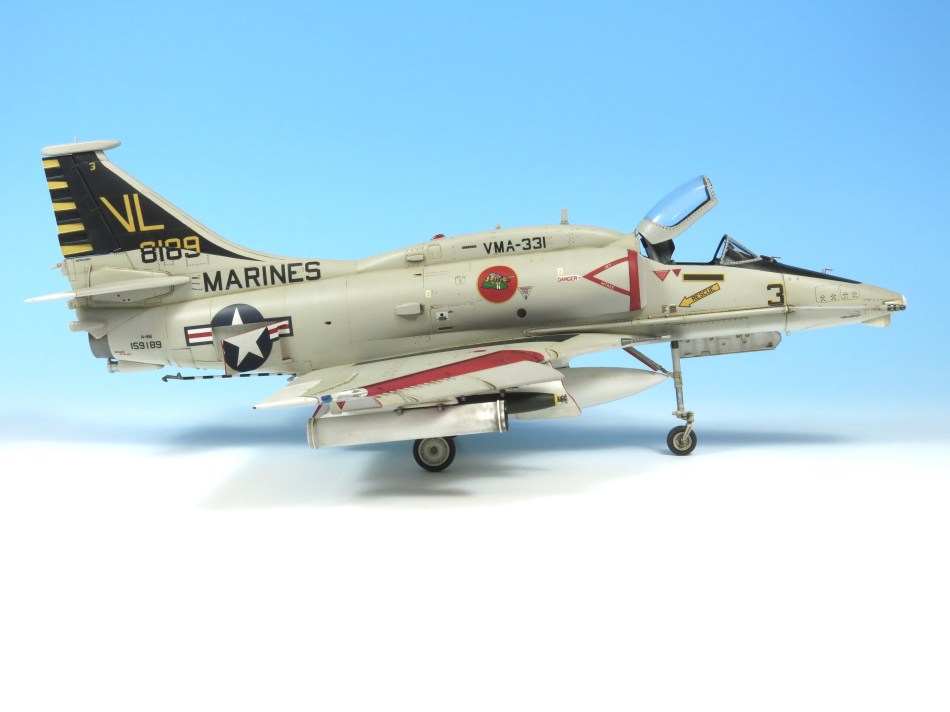
“As with almost every Hasegawa aircraft kit, this one is devoid of weapons save for the underwing tanks that are specific to the aircraft”


Having completed the painting, decalling and weathering, I could breath a sigh of relief and turn my attention to the undercarriage and weapons – the former an easy step, the latter, not so much!

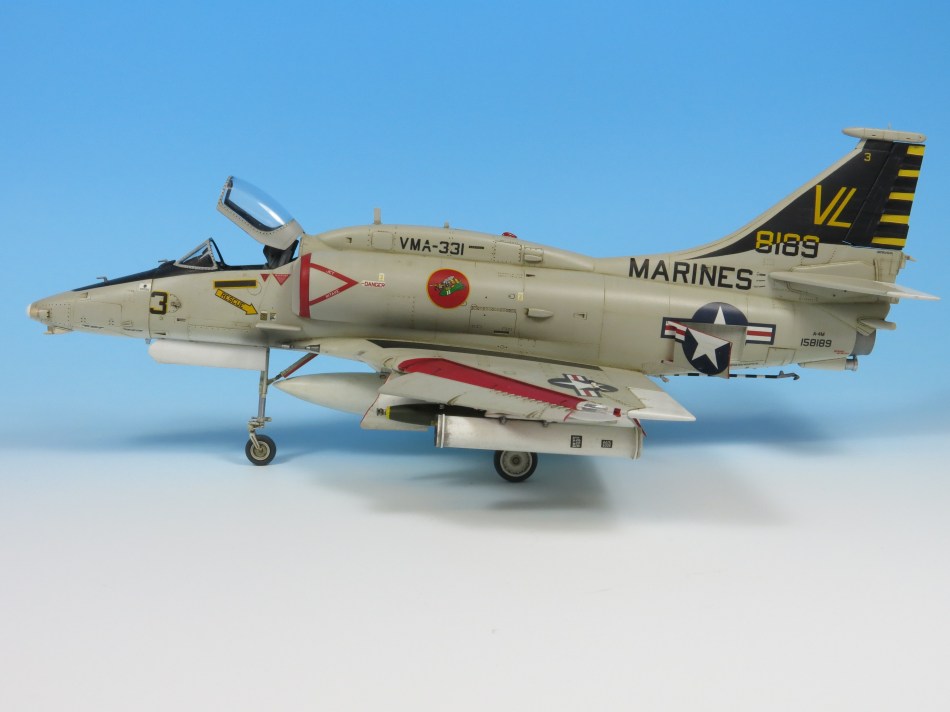
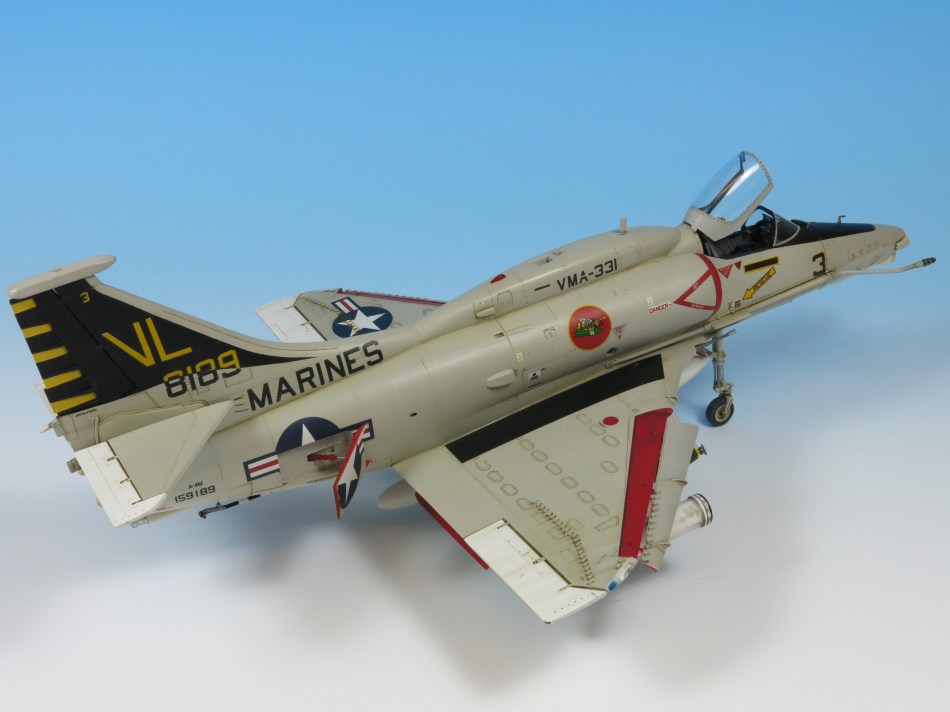
The undercarriage units in the kit are really well detailed and look fine with little more than a coat of paint and a touch of weathering here and there. As with the rest of the kit, enamels were used to produce the colour coats, the quality of the new colours allowing not only the painting of the finer details, but once thinned down, the washes needed to accentuate the detail.
If the undercarriage was straightforward, the weapons proved less so. As with almost every Hasegawa aircraft kit, this one is devoid of weapons save for the underwing tanks that are specific to the aircraft. This being so, if you want a model that features external stores you’ll have to raid either another kit, or one of Hasegawa’s extensive weapons set. After spending considerable time trying to find pictures of A-4Ms carrying weapons – most appearing to be flown without, which wasn’t helpful! – I settled on a centreline tank from the kit and then two Rockeye bombs and two LAU-10 rocket pods, both of which can from the aforementioned weapons sets. These were carefully assembled and then the painted accordingly, the rocket pods being weathered to reflect heavy use.

All that remained was to mask and paint the canopy and then add the smaller details such as the aerials, slats and flaps and this one was done. The slats are a far from easy couple of pieces to fix in place and needed some carefully applied superglue on their actuators and undersides of each on to ensure they were securely fastened. The flaps simply fix in place with a large tab, so a dab of glue and that as they say, was that – almost. You’ll notice in the pictures that I’ve forgotten to add the pitot tube to the leading edge of the fin; I’ll be adding this in due course, after hanging my head in shame…
The complete feature…

If you’d like to see the rest of this build, please check out the other parts, the links being as follows:
https://thekitbox.wordpress.com/2017/03/13/super-scooter-the-start-of-a-new-chapter/
https://thekitbox.wordpress.com/2017/03/15/super-scooter-part-2/
https://thekitbox.wordpress.com/2017/03/20/super-scooter-part-3/
Follow this Blog!
Don’t forget that if you like what you see, please subscribe to this page to get regular updates from The Kit Box.
Here’s the link to show you how!
https://thekitbox.wordpress.com/2017/03/03/follow-this-blog-2/

Hello Spencer, Well done, an interesting build and a fine looking model. Did you come to any particular conclusions regarding the enamels?
LikeLike
Nice!
LikeLike