“I forgot the decals, only to look down once I’d finished grandstanding, to see that the sheet of tiny stencils had flowed together into one watery mess”
Though it may be somewhat surprising given the endless pitfalls that can trap the unwary like a mouse hunting for cheese, decalling is one of my favourite steps in the completion of any model that I build. Despite the need to apply gloss coats, work with setting solutions and then deal with silvering – that almost always happens no matter what I do – I like it.
Honestly, I do.
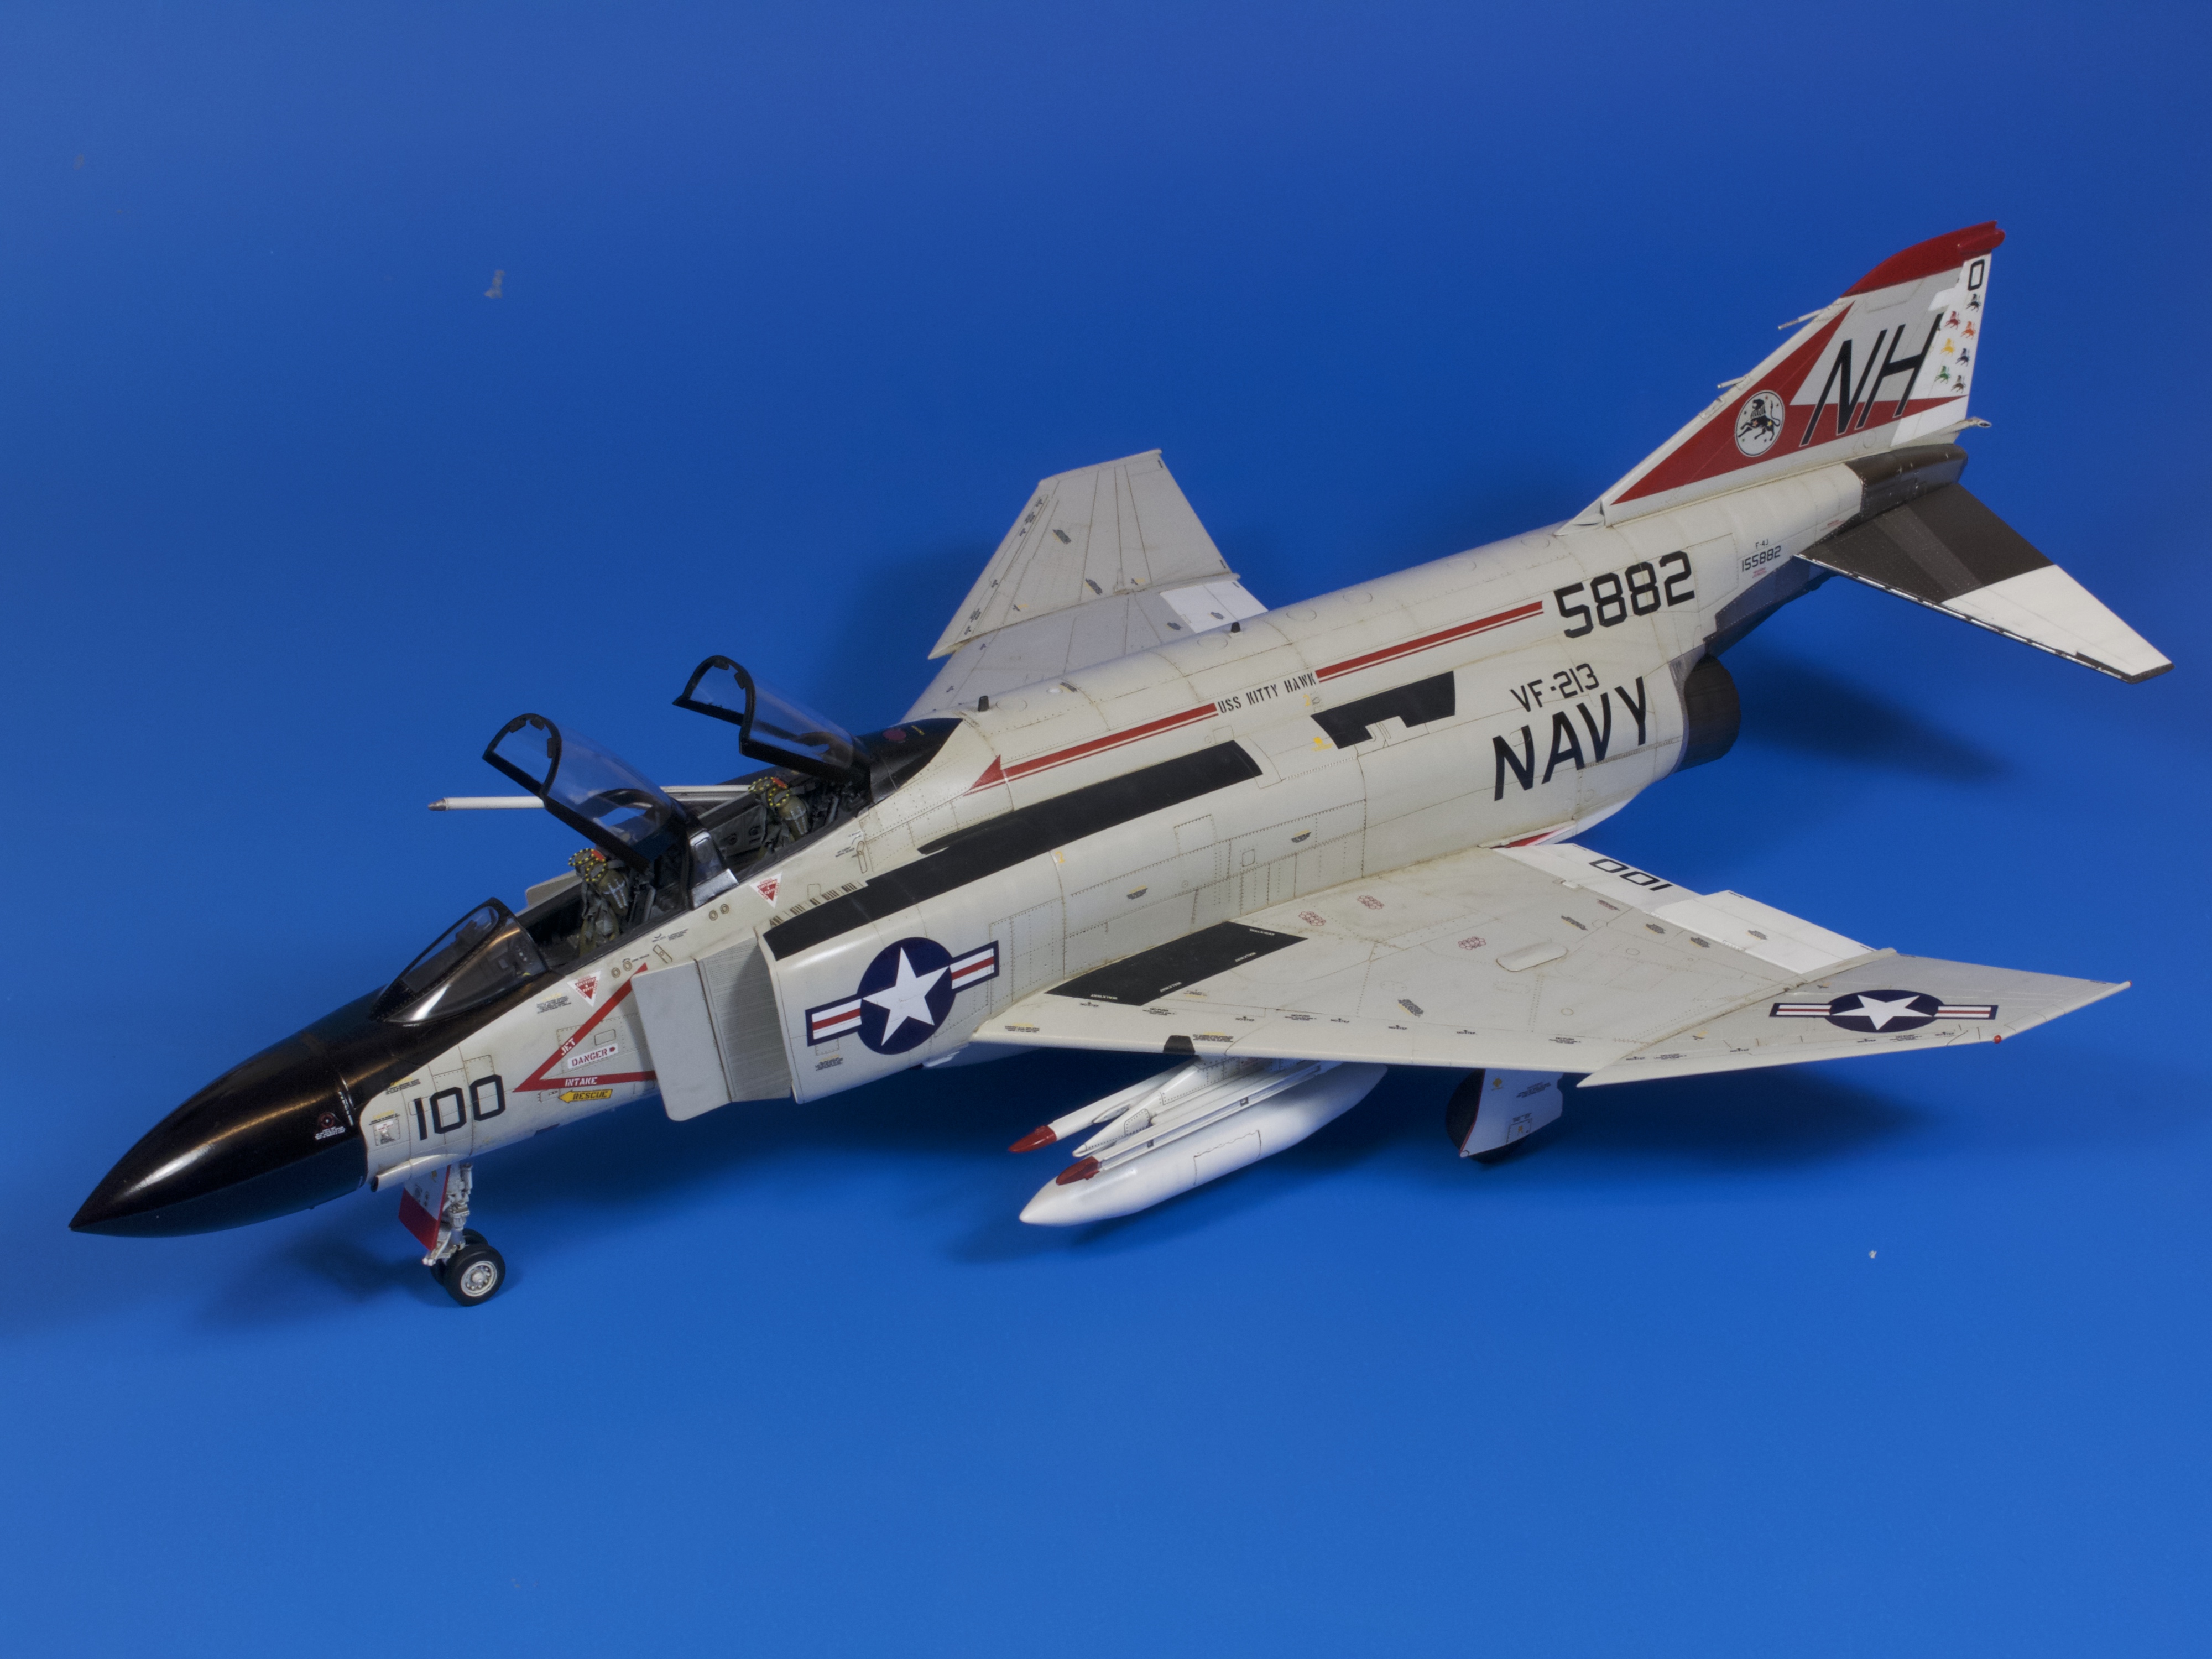
Several weeks ago I had the chance to carry out some serious decklin’ (or apply the stickers, as I like to call it) during the building and painting of Zukei-Mura’s 1:48 F-4J Phantom. Being something of a contrary soul, I decided that I would not finish the model in the colours of ‘Showtime 100’, but instead use some Furball decals to replicate an aircraft from VF-213 ‘Black Lions’. The choice of this scheme was determined by a) a desire to build a model where the markings flowed across the shape of the aircraft and b) an overwhelming need not to build a model that the majority of modellers will complete.
You see, I told you I was contrary.
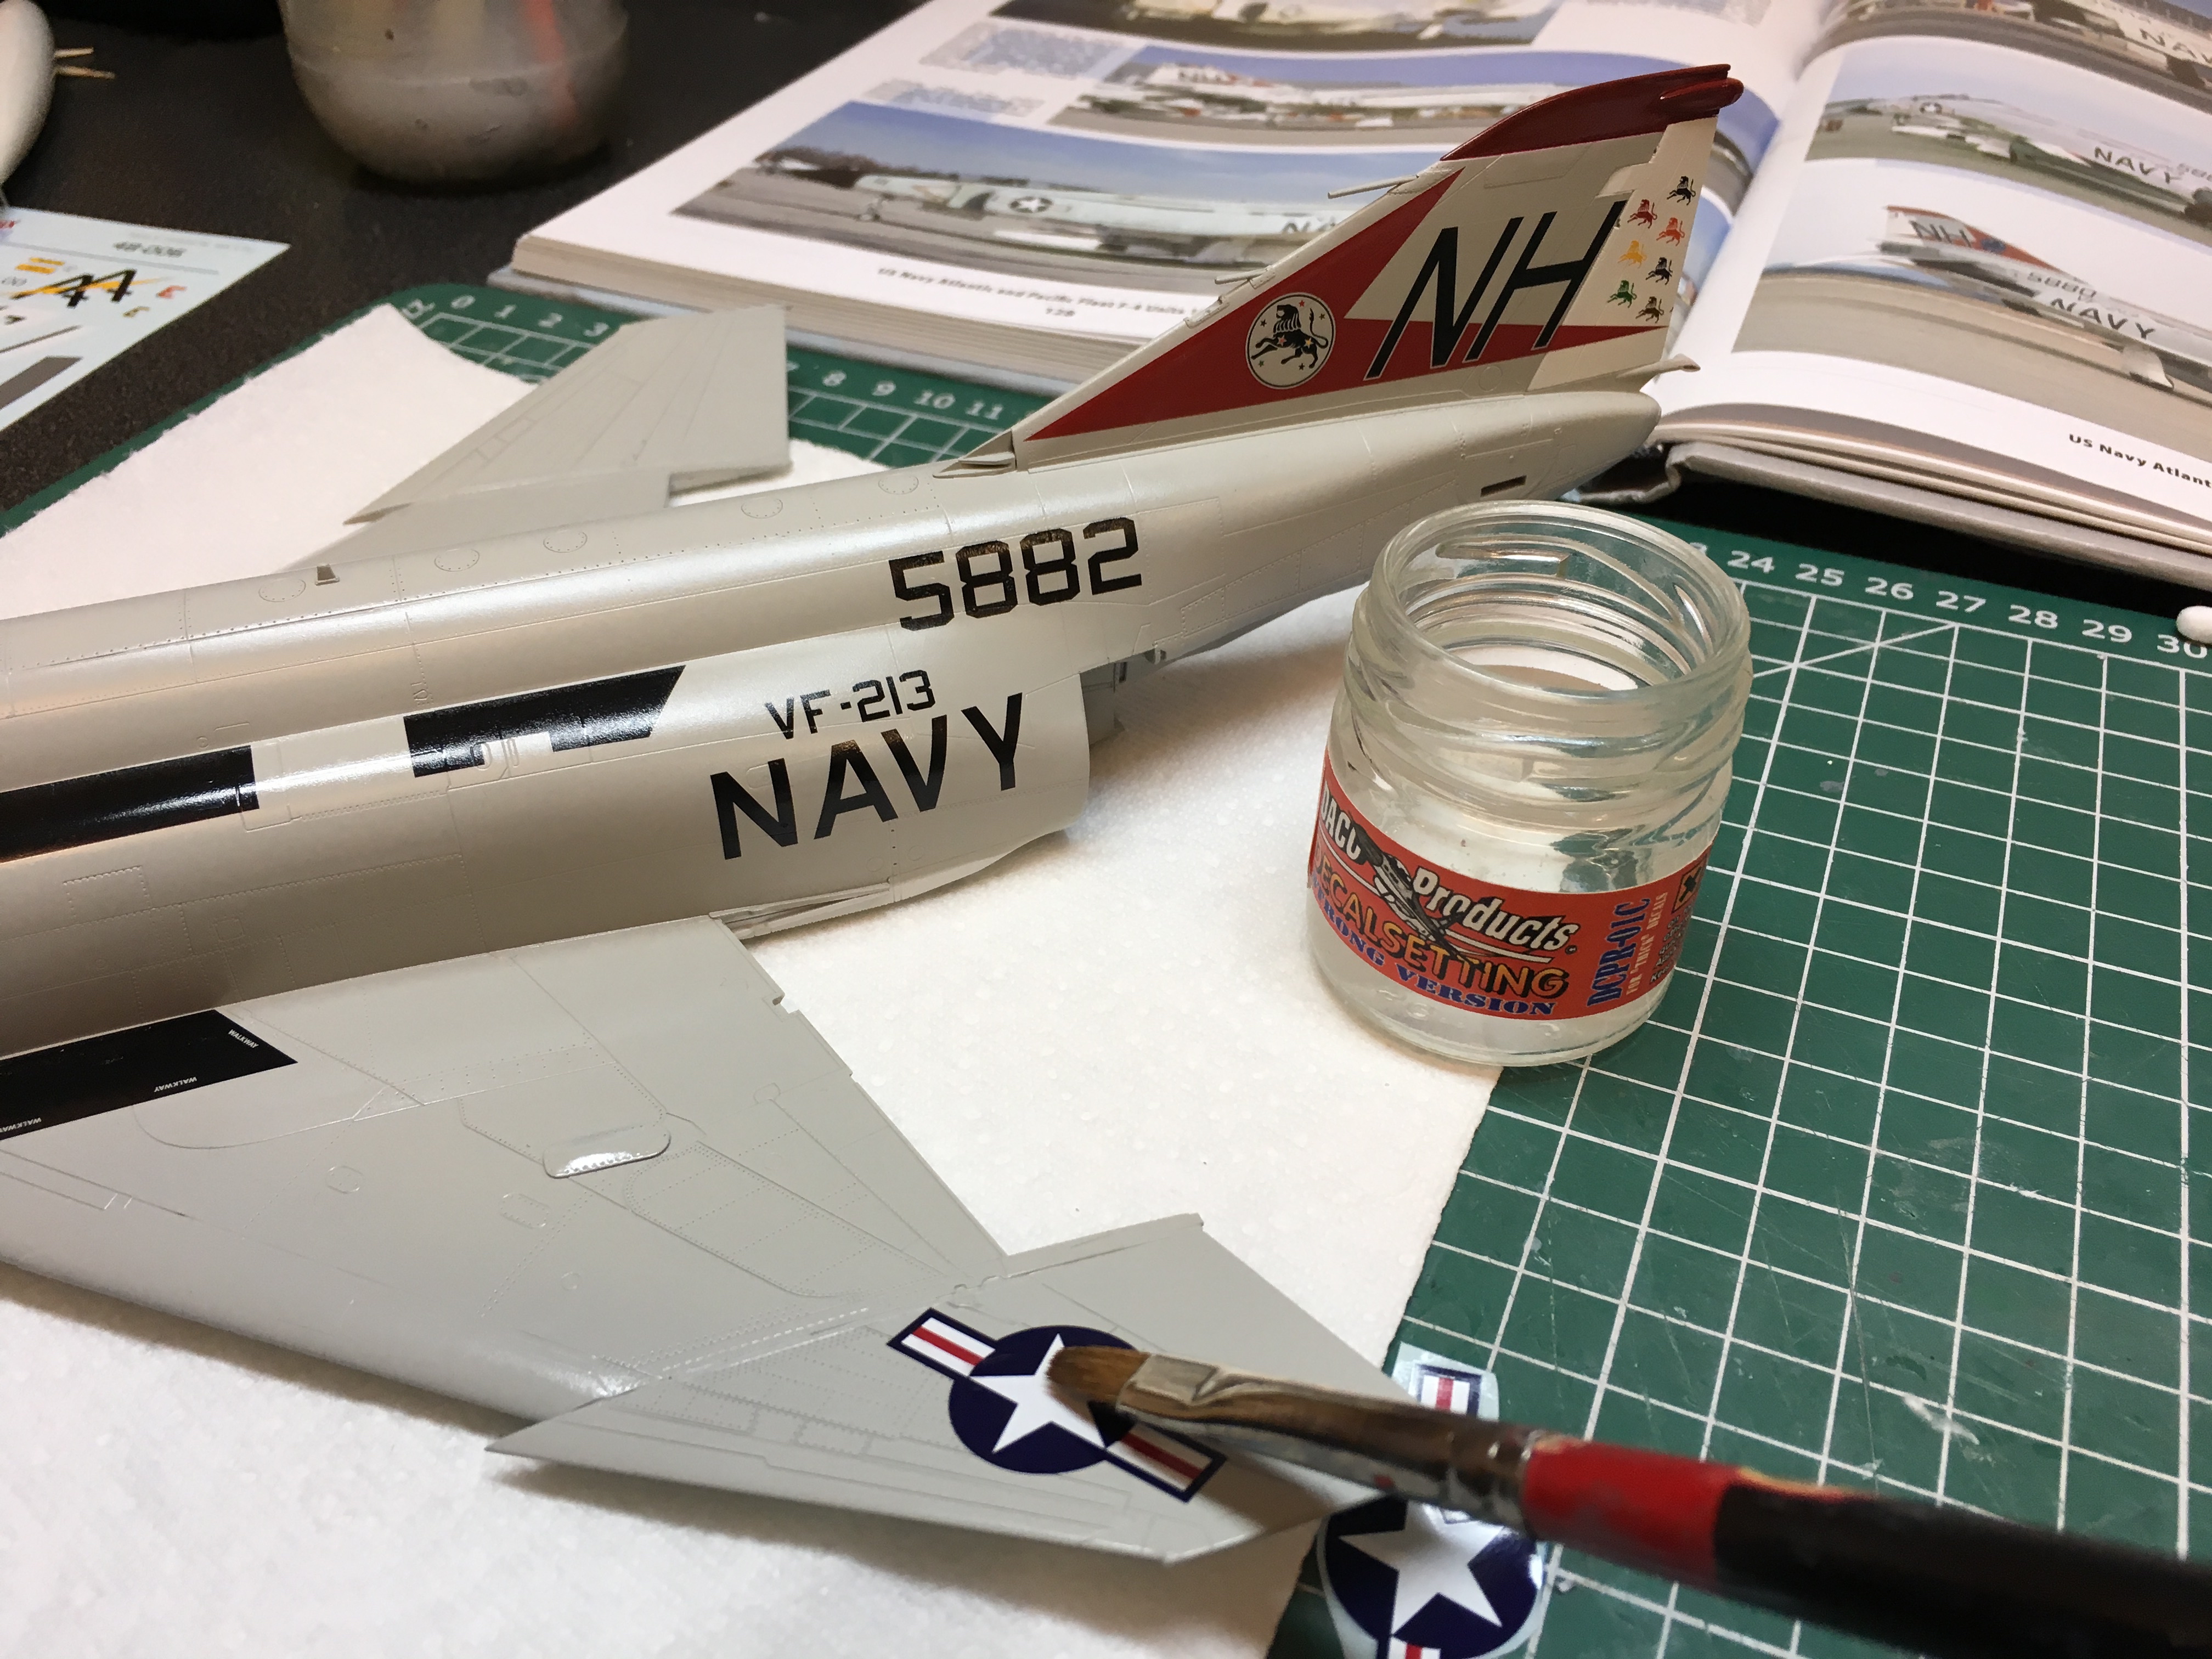
So, with the model painted, glossed and checked that it was dry, rather than tacky which is usually the case, I set about applying the decals, one by one. Now, it should be pointed out from the off that being OCD doesn’t even come close to describing how I approach this part of a model. Firstly, I lay my desk out the same way each time; on top of my cutting mat I place a folded sheet of Plenty kitchen towel (seriously, can we get back to calling it Bounty?!), to the side, I drop another sheet and then in front of the mat I line up the solutions I’m going to use – and when I say line up, I mean line up. The reasons for this perfectly aligned collection of paper and solutions is something of a mystery, but much like not walking under a ladder, or changing your pants during your team’s FA Cup run, I prefer not to tempt the gods of fate, so it’s the same each and every time and in the main, it tends to result in decals that go on perfectly each time, more or less.
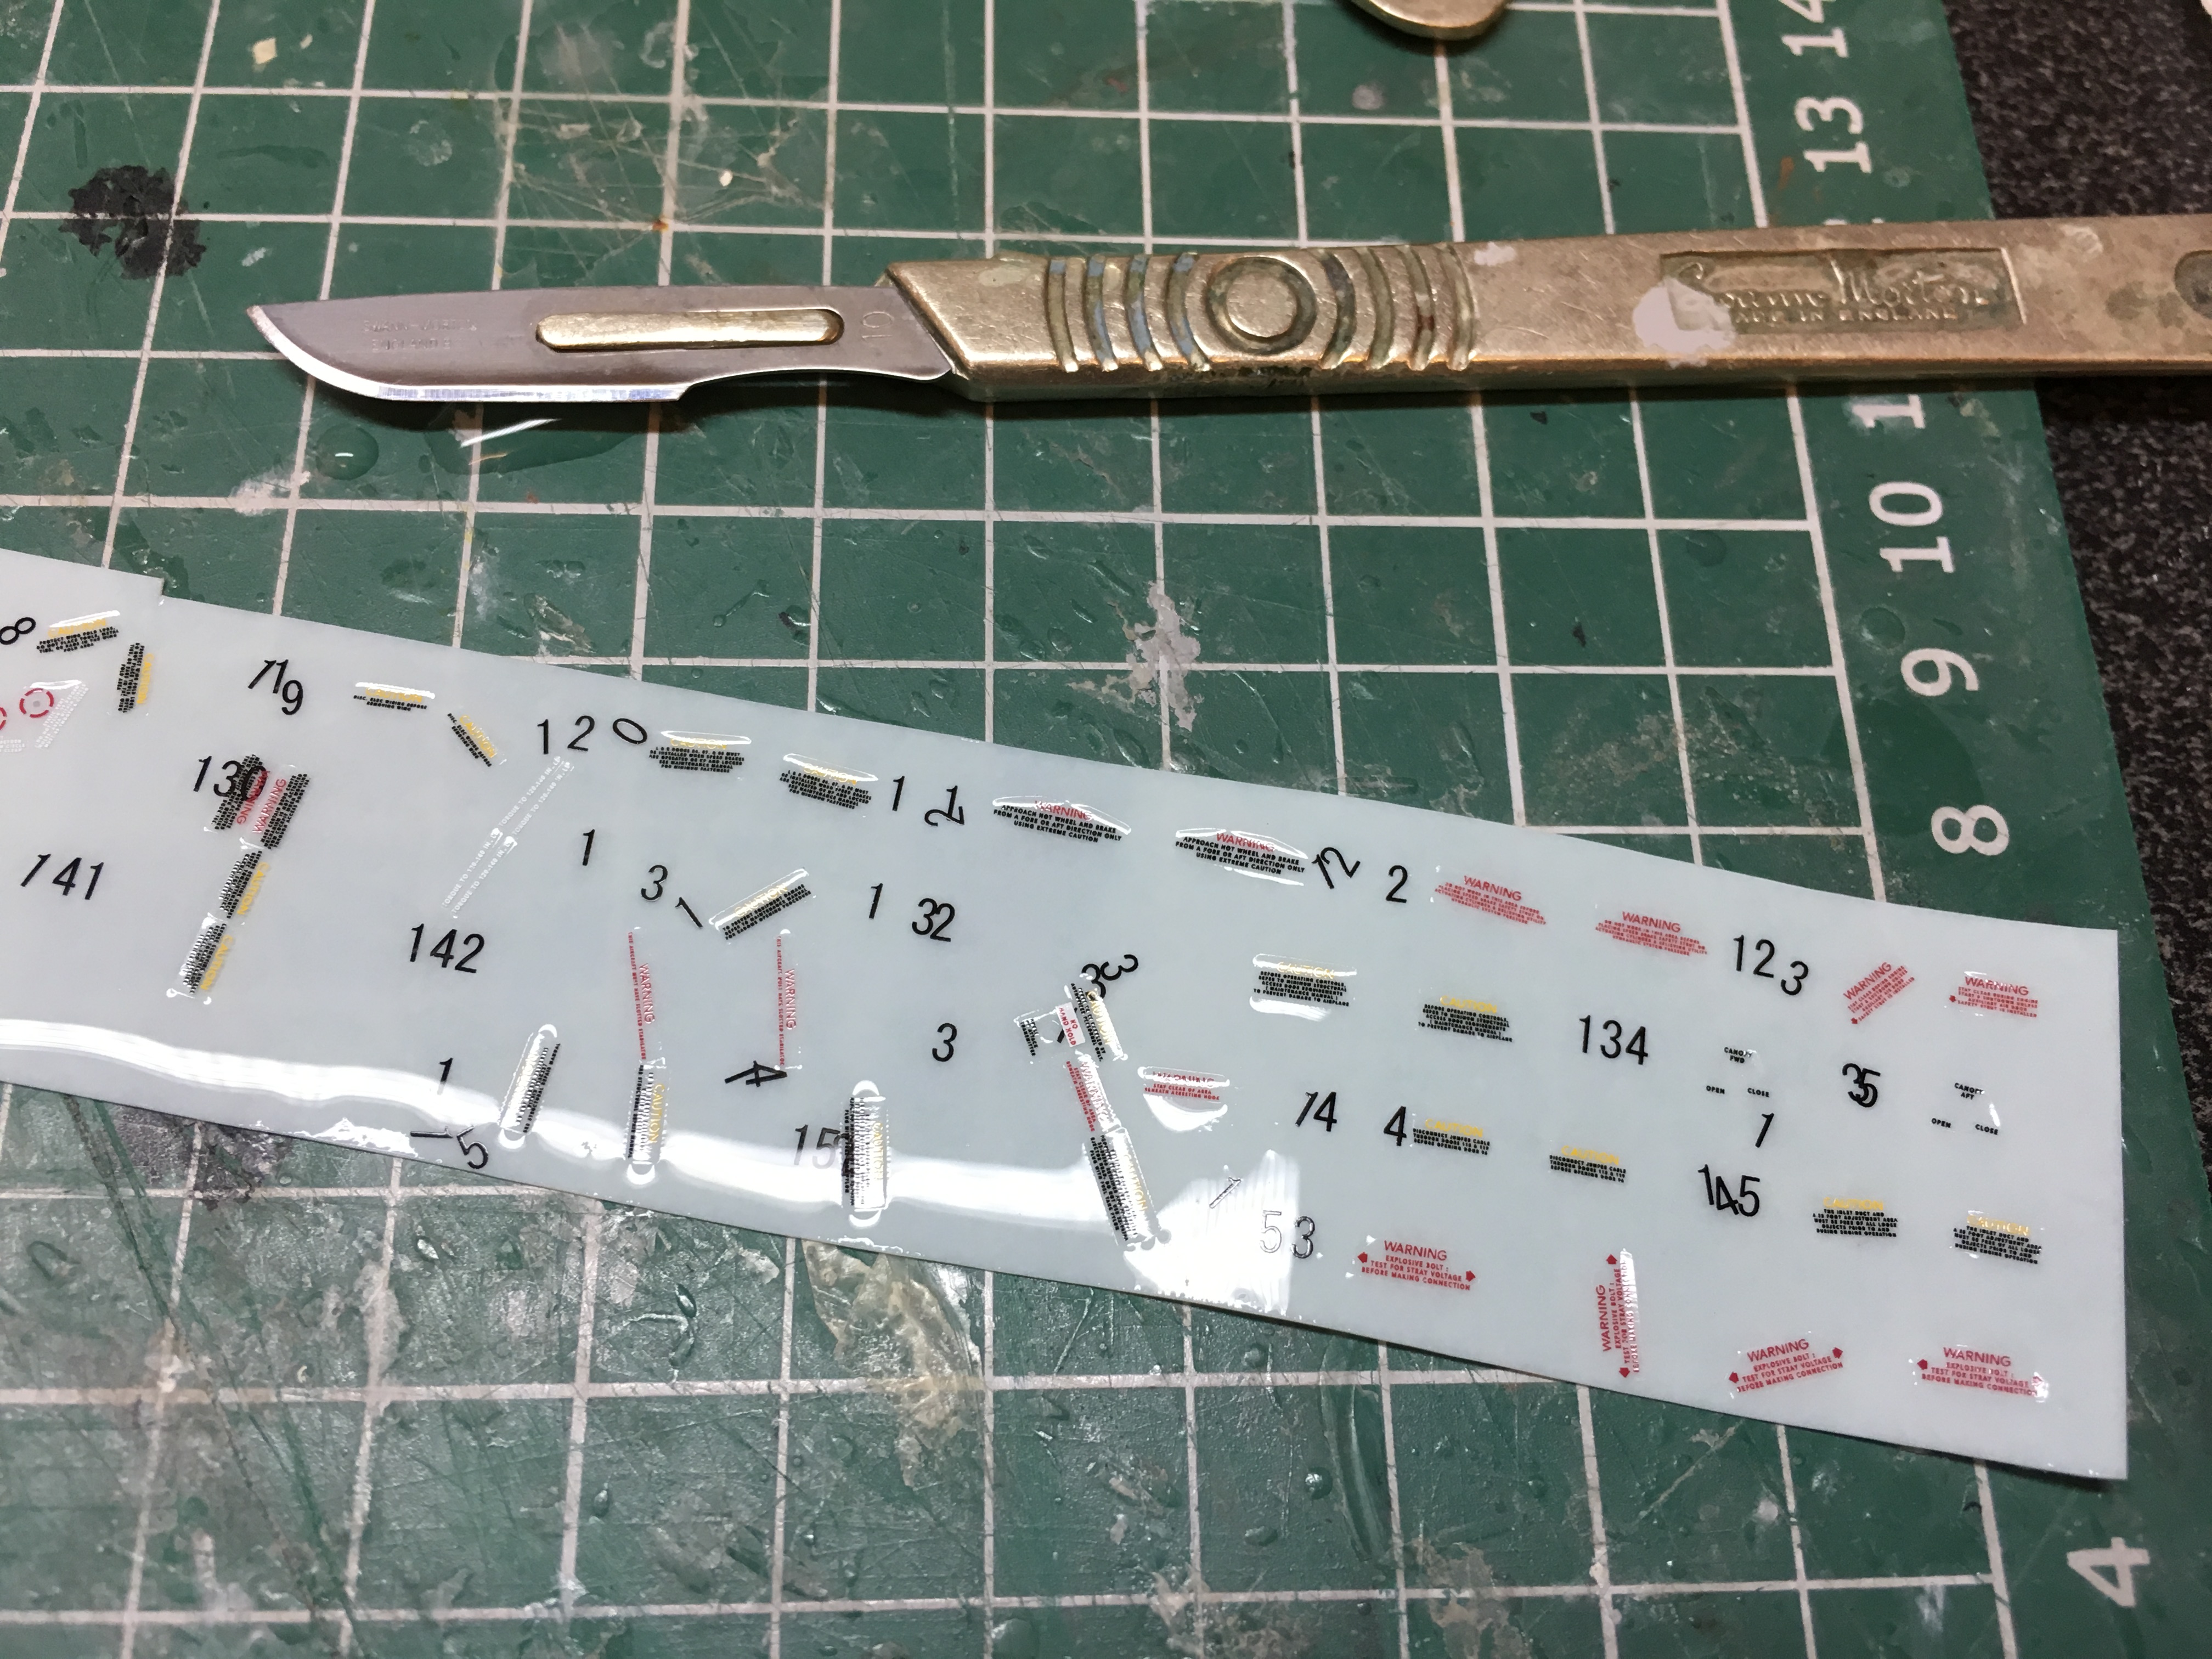
Everything was now ready and so the application of the larger markings began, much of which ran on rails. Happy that the squadron markings and the like were in place, attention turned to the smaller stencils. Now, as anyone will tell you, so long as they’ve built a model aircraft of course, applying stencils is fraught with danger and involves patience and endurance that can test the most dedicated of modellers. Many modellers hate this part of a build, those tiny little warning markings seeming to be an endless round of torture that adds little to the model and much to your feelings of frustration, anger and impatience. But, I kinda like them and so carry on regardless, but, I tend to deviate slightly from prescribed paths and unlike the larger items, I cut sections from the decal sheet rather than individual designs, in order to speed up the process (I might be OCD, but that doesn’t mean I’m not lazy!). Each section was therefore cut from the sheet, dipped in water and then laid onto a sheet of Plenty, to wick-away the excess moisture.
And then it happened: I checked my Facebook page.
It was a rookie mistake. On one of the pages there was a discussion about the best kit you’ve built and the most fun you’ve had with it – you know, the usual conversation stimulators that we all use to try and prove that we are not alone and that there are indeed other like-minded individuals in the world, if only on a computer screen. Well, I commented, pointed out that most builds are jobs for work and most of the time, ‘fun’ doesn’t really come into it, which in itself was something of a mistake (never tell a modeller that what you do is not fun and never tell them that their hobby is not art. We’ll talk about it later…) A few minutes passed and I forgot the decals, only to look down once I’d finished grandstanding to see that the sheet of tiny stencils had flowed together into one watery mess – including their individual numbers…
The air turned blue. What the hell was I going to do now?! I could barely read the stencils as it was and the instructions were less than clear, so now I had to try and match each one to a shape that looked to be close to those seen in the drawings, any chance of using actual numbers having floated away with my sanity. I simply couldn’t believe I had been that stupid. It was also not lost on me that I had done this whilst discussing why modelling was not in the main ‘fun’, thus proving in one easy to see moment, exactly why that was so. Honestly, I could not have scripted it.
So, over the next thirty minutes or so I had to try and work out which of these tiny decals went where and do so using the kit drawings that didn’t exactly match the markings, reference pictures and fading eyesight. A job that should have taken ten minutes took five times as long and even now, I’m not sure that everything is in the right place. Still, I guess that the only way that that will matter is if an onlooker has worked on the actual aircraft and is carrying a microscope when he/she decides to take a peak. What’s the betting that actually happens?
What this proves is that there are no corners to cut and that you’ve got to concentrate at all times during a build – even when carrying out something that is usually easy and yes, I’ll say it, fun. But more than that, It proves that you shouldn’t be checking your Facebook page when you are supposed to be working, no matter how interesting the debate…

Spencer – nice post. Just a thought- why not snap a pic of the area of the decal sheet with your smart phone before you dunk? That way if everything goes runny ( and I have the t-shirt too!) you can refer back to the pic.
cheers Jon
LikeLike
Thanks Spencer,
Your writing style is very entertaining, as was the lesson.
LikeLike