I can move on to the detailing of the cockpit and that’s where the real fun begins!
Having gathered together all of the images that I need to complete this mammoth project, work has continued on the nose extension and trying to get the surfaces as smooth as possible. You’ll already have seen the work needed to extend the nose the necessary 47 scale inches .
(https://thekitbox.wordpress.com/2016/06/22/that-dream-project-the-journey-begins/)
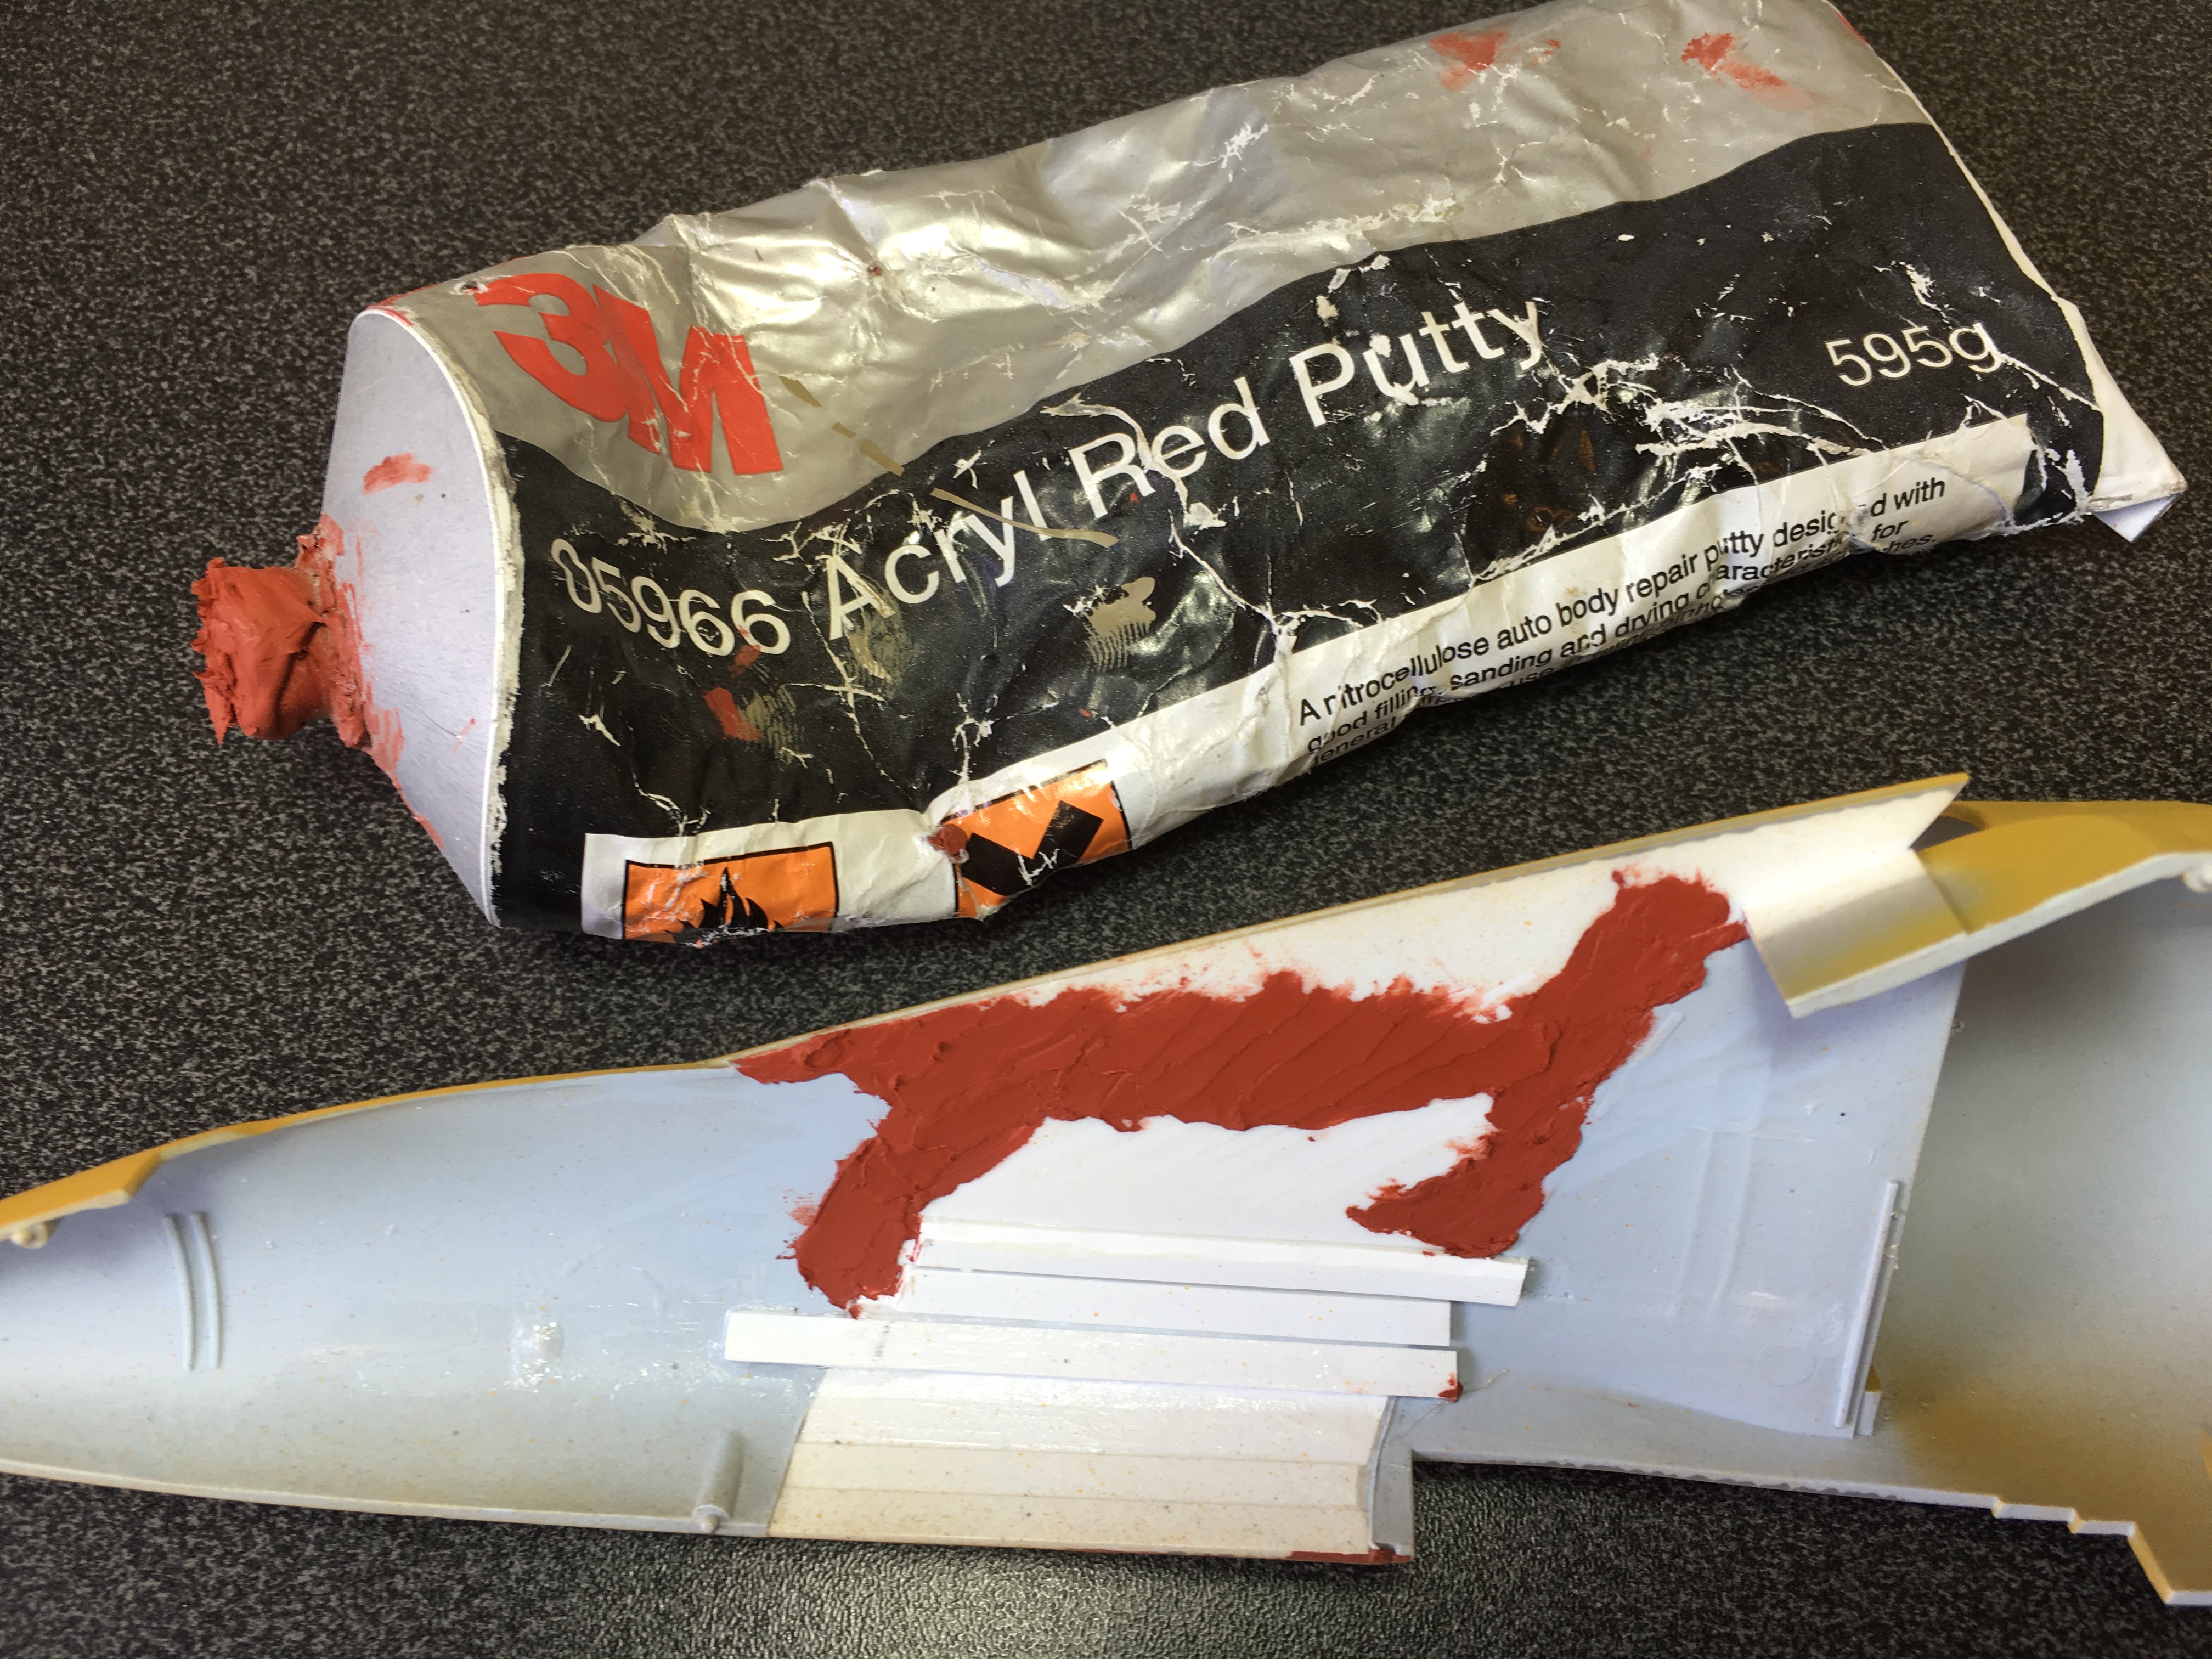
So over the last week I’ve spent time blending the plasticard and strips into the rest of the airframe. To begin with, this meant flooding the area with superglue and then 3M Red Finishing Putty, before applying a number of layers of Halfords Grey Plastic Primer an then Plastic Filler Primer, to smooth everything out.


As it stands, the nose is almost there, though I’ve noticed a few errant areas that will need further work. The main issue is the appearance of slight ‘ghost seams’ that keep appearing as the glue around the nose extension settles down. I’m hoping that by the time this model is painted in three months time, everything will be hard enough to allow those areas to be smoothed over perfectly. Here’s keeping my fingers crossed!
With the nose extended and the interior walls smoothed out, I’ve begun work on the cockpit bulkheads and floors. Though I was tempted to try and amend the kit parts and then duplicate them, they are in fact rather inaccurate, so the need to rebuild everything, became almost instantly apparent! So far, I’ve created the nose bulkhead, front cockpit floor and rear bulkhead, along with the rear bulkhead for the second cockpit. I was really concerned by my ability to create these parts, but in the end they were simply to create, only a little adjustment here and there being needed for an almost perfect fit. Hopefully today, I’ll be able to complete the floor for the rear cockpit and join the whole lot together to create a complete cockpit structure. Once I’ve done this I think I’ll be a lot happier as this was always the the most daunting aspect of this build. Once the basic structure is done, I can move on to the detailing of the cockpit and that’s where the real fun begins…


Pingback: Harrier Conversion – Video Update – THE KIT BOX