I’ve just posted a new video on my YouTube channel that shows how to use an alcohol-based marker pen to check whether or not you’ve cleaned up the joints around you models properly, and if there is any further work to do. Essentially, this involves marking the seams with the pen and then sanding away the ink; if it all disappears, you know that the joint is smooth and in need of no more work, if ink remains, you know you have to do more to make it perfect. The video shows this off in detail. Here’s the link!
Although the video tells you all you need to know, it is perhaps worth seeing some of the steps in more detail, so I have taken some shots of the tools used and the steps taken – nothing too in-depth, but enough to point you in the right direction, should you wish to have a go. Let’s take a look:
Tools Of The Trade
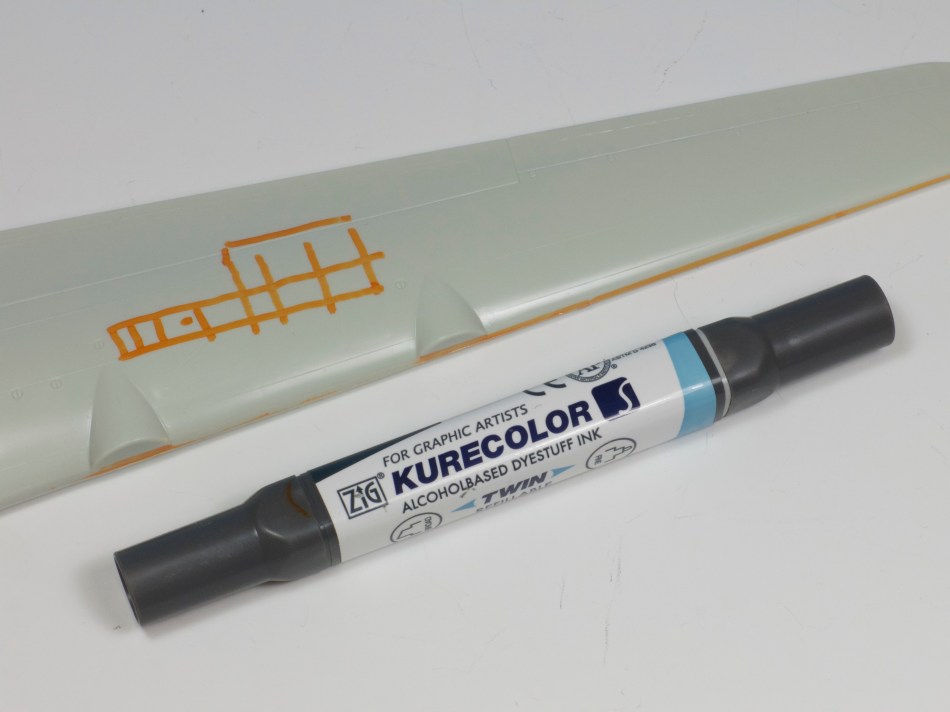
This is the central tool in this technique, a Kurecolor, alcohol based, marker pen. These are available widely and in a huge range of colours.

As you can see, the pen has a wide marker nib on one end…

…And a fine nib on the other. These two nibs will allow you to carry out a wide range of highlighting tasks on any model that you choose to build.
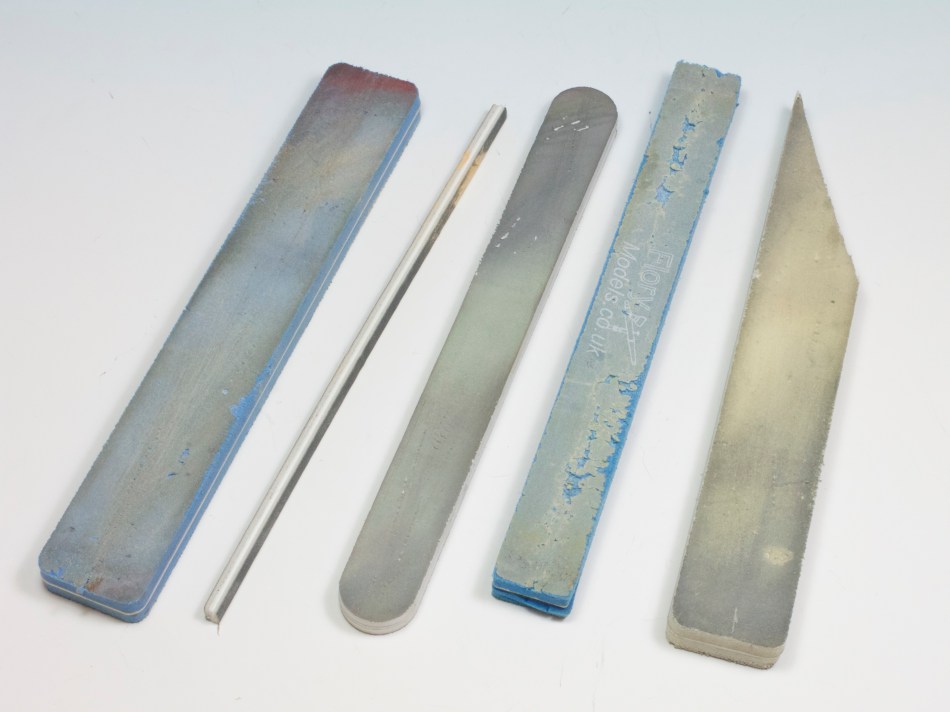
Sanding sticks in a wide variety of grades are used to clean up the joints, a final, very fine grade being used to polish the surface ready for painting (especially useful when building cars and the like that need a perfect finish).
Step by step – almost…
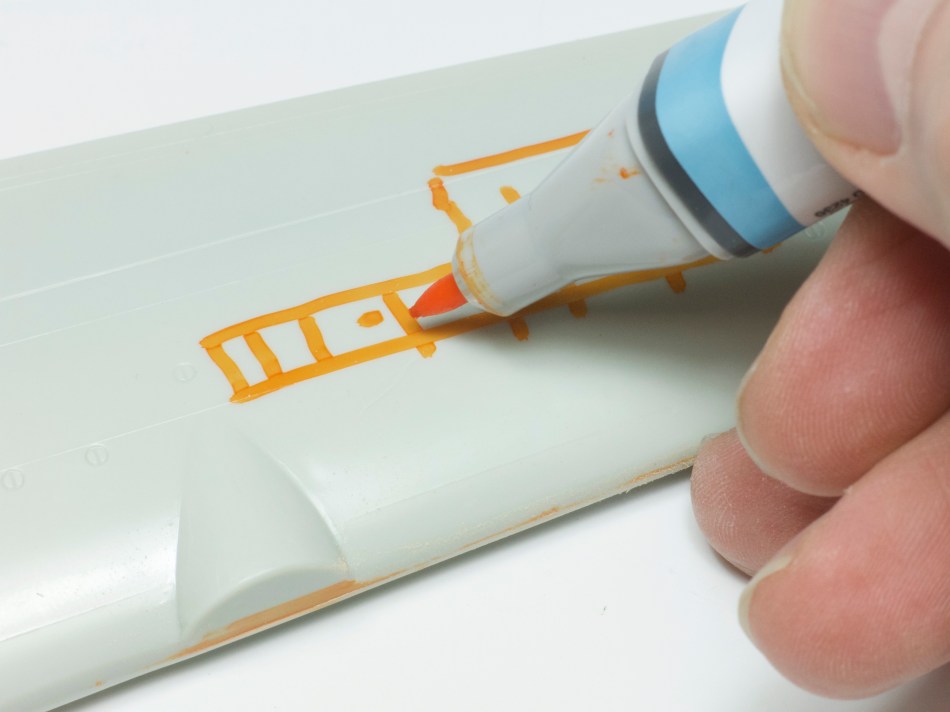
Sink marks can be highlighted using the fine nib, these areas being either filled and smoothed over, or simply sanded away, depending on the severity of the marks.
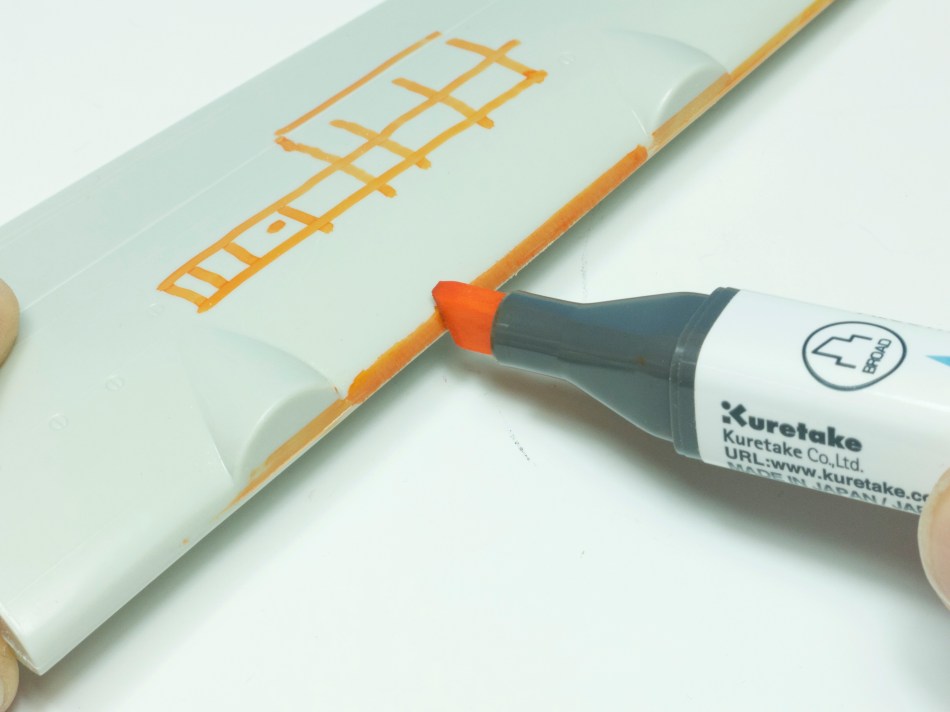
As seen in the video, the larger nib is used to highlight areas that need to be sanded smooth, such as the leading edge of this wing.
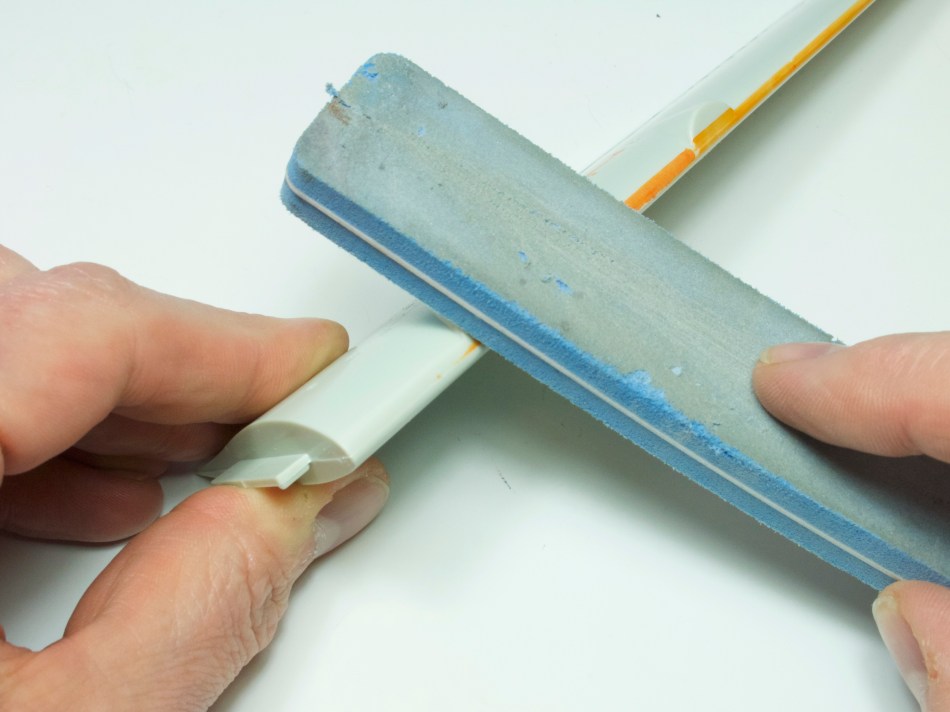
Once highlighted, the seams can be sanded smooth using either the Flex-i-file seen in the video, or sanding sponges, seen here. Take your time to ensure that all of the ink is removed.
And that’s it! I hope you have found this useful and I will see you next time!

0 comments on “SEAMS EASY!”