
The fit was so good that I almost didn’t need glue to hold the parts in place. In fact, the wings, nose, tailplanes and canopy, aren’t glued in place, clever design, slots and tabs, doing everything that glue would traditionally have done.
12th June 2025
Look, I appreciate that I’m not known for making sweeping generalisations, but occasionally I like to surprise you all by dropping one into the conversation. So today, I’m going to do just that. When it comes to aircraft kits, Tamiya’s modular approach is in a class of its own. They are, and I won’t be taking notes at this time, a perfect mix of accuracy, detail and incredible engineering.

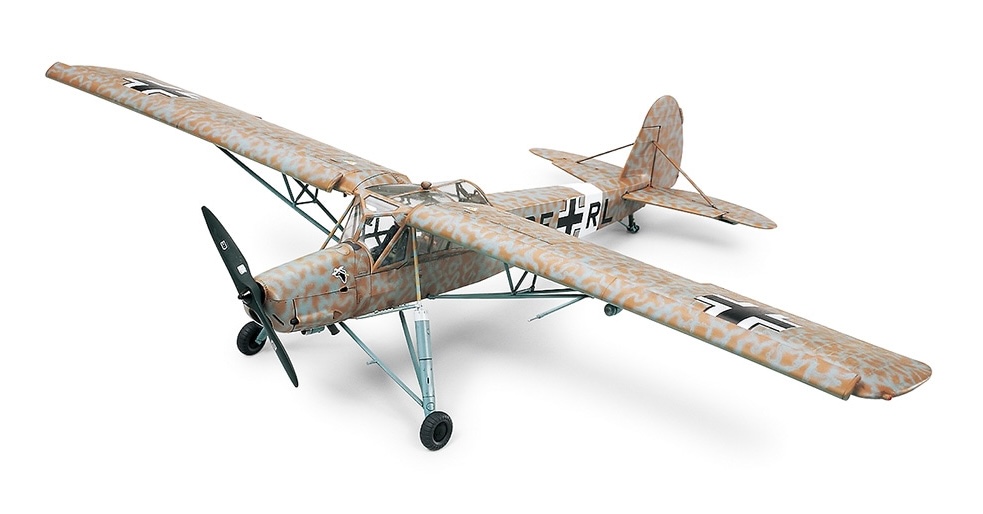
From a personal point of view this opinion began with the 1/48 Tomcat, though I’m sure Marcus Nicholls has in the past proffered the idea to me that it actually began with their Fieseler Storch, their 100th 1/48 Aircraft release. We’ll have to agree to disagree, though only because I’ve built a Tomcat and not built a Storch! Hmm, come to think of it, why haven’t I built that kit?
Anyhoo…

This week I’ve been working on the new(ish) 1/48 F-35C, the second kit from their family of Lightning IIs that has graced my desk. Having already tackled the Bravo model – but not the F-35A – I had a fairly good idea of how to best build the kit and paint the results. Even so, I was still stunned by how easy the kit was to put together and how much of it could be completed before bringing the airframe together ready for painting, decalling, and in the case of the now rather shabby Charlie variants, applying some weathering. In fact, such is its modular construction and frankly eye-wateringly close tolerance between the individual parts, you can complete the central airframe and its internal bits and pieces, and keep everything else separate ready to be joined without issue, during a mammoth round of final assembly.
This was of course exactly the same with the Tomcat. Complex in shape, I was always concerned about its paintwork, the multitude of hidden areas and open bays seeming like a nightmare in waiting, as forward planning moved through the gears to actual having to paint the thing. What I didn’t appreciate though as those initial concerns overwhelmed my thoughts, was that with an approach that deviated from the path set out in the instructions, I could break the model into bitesized chunks, paint, decal and weather each one, and then bring everything together, seamlessly. So that’s what I did: three times. The fit was so good that I almost didn’t need glue to hold the parts in place. In fact, the wings, nose, tailplanes and canopy, aren’t glued in place, clever design, slots and tabs, doing everything that glue would traditionally have done.
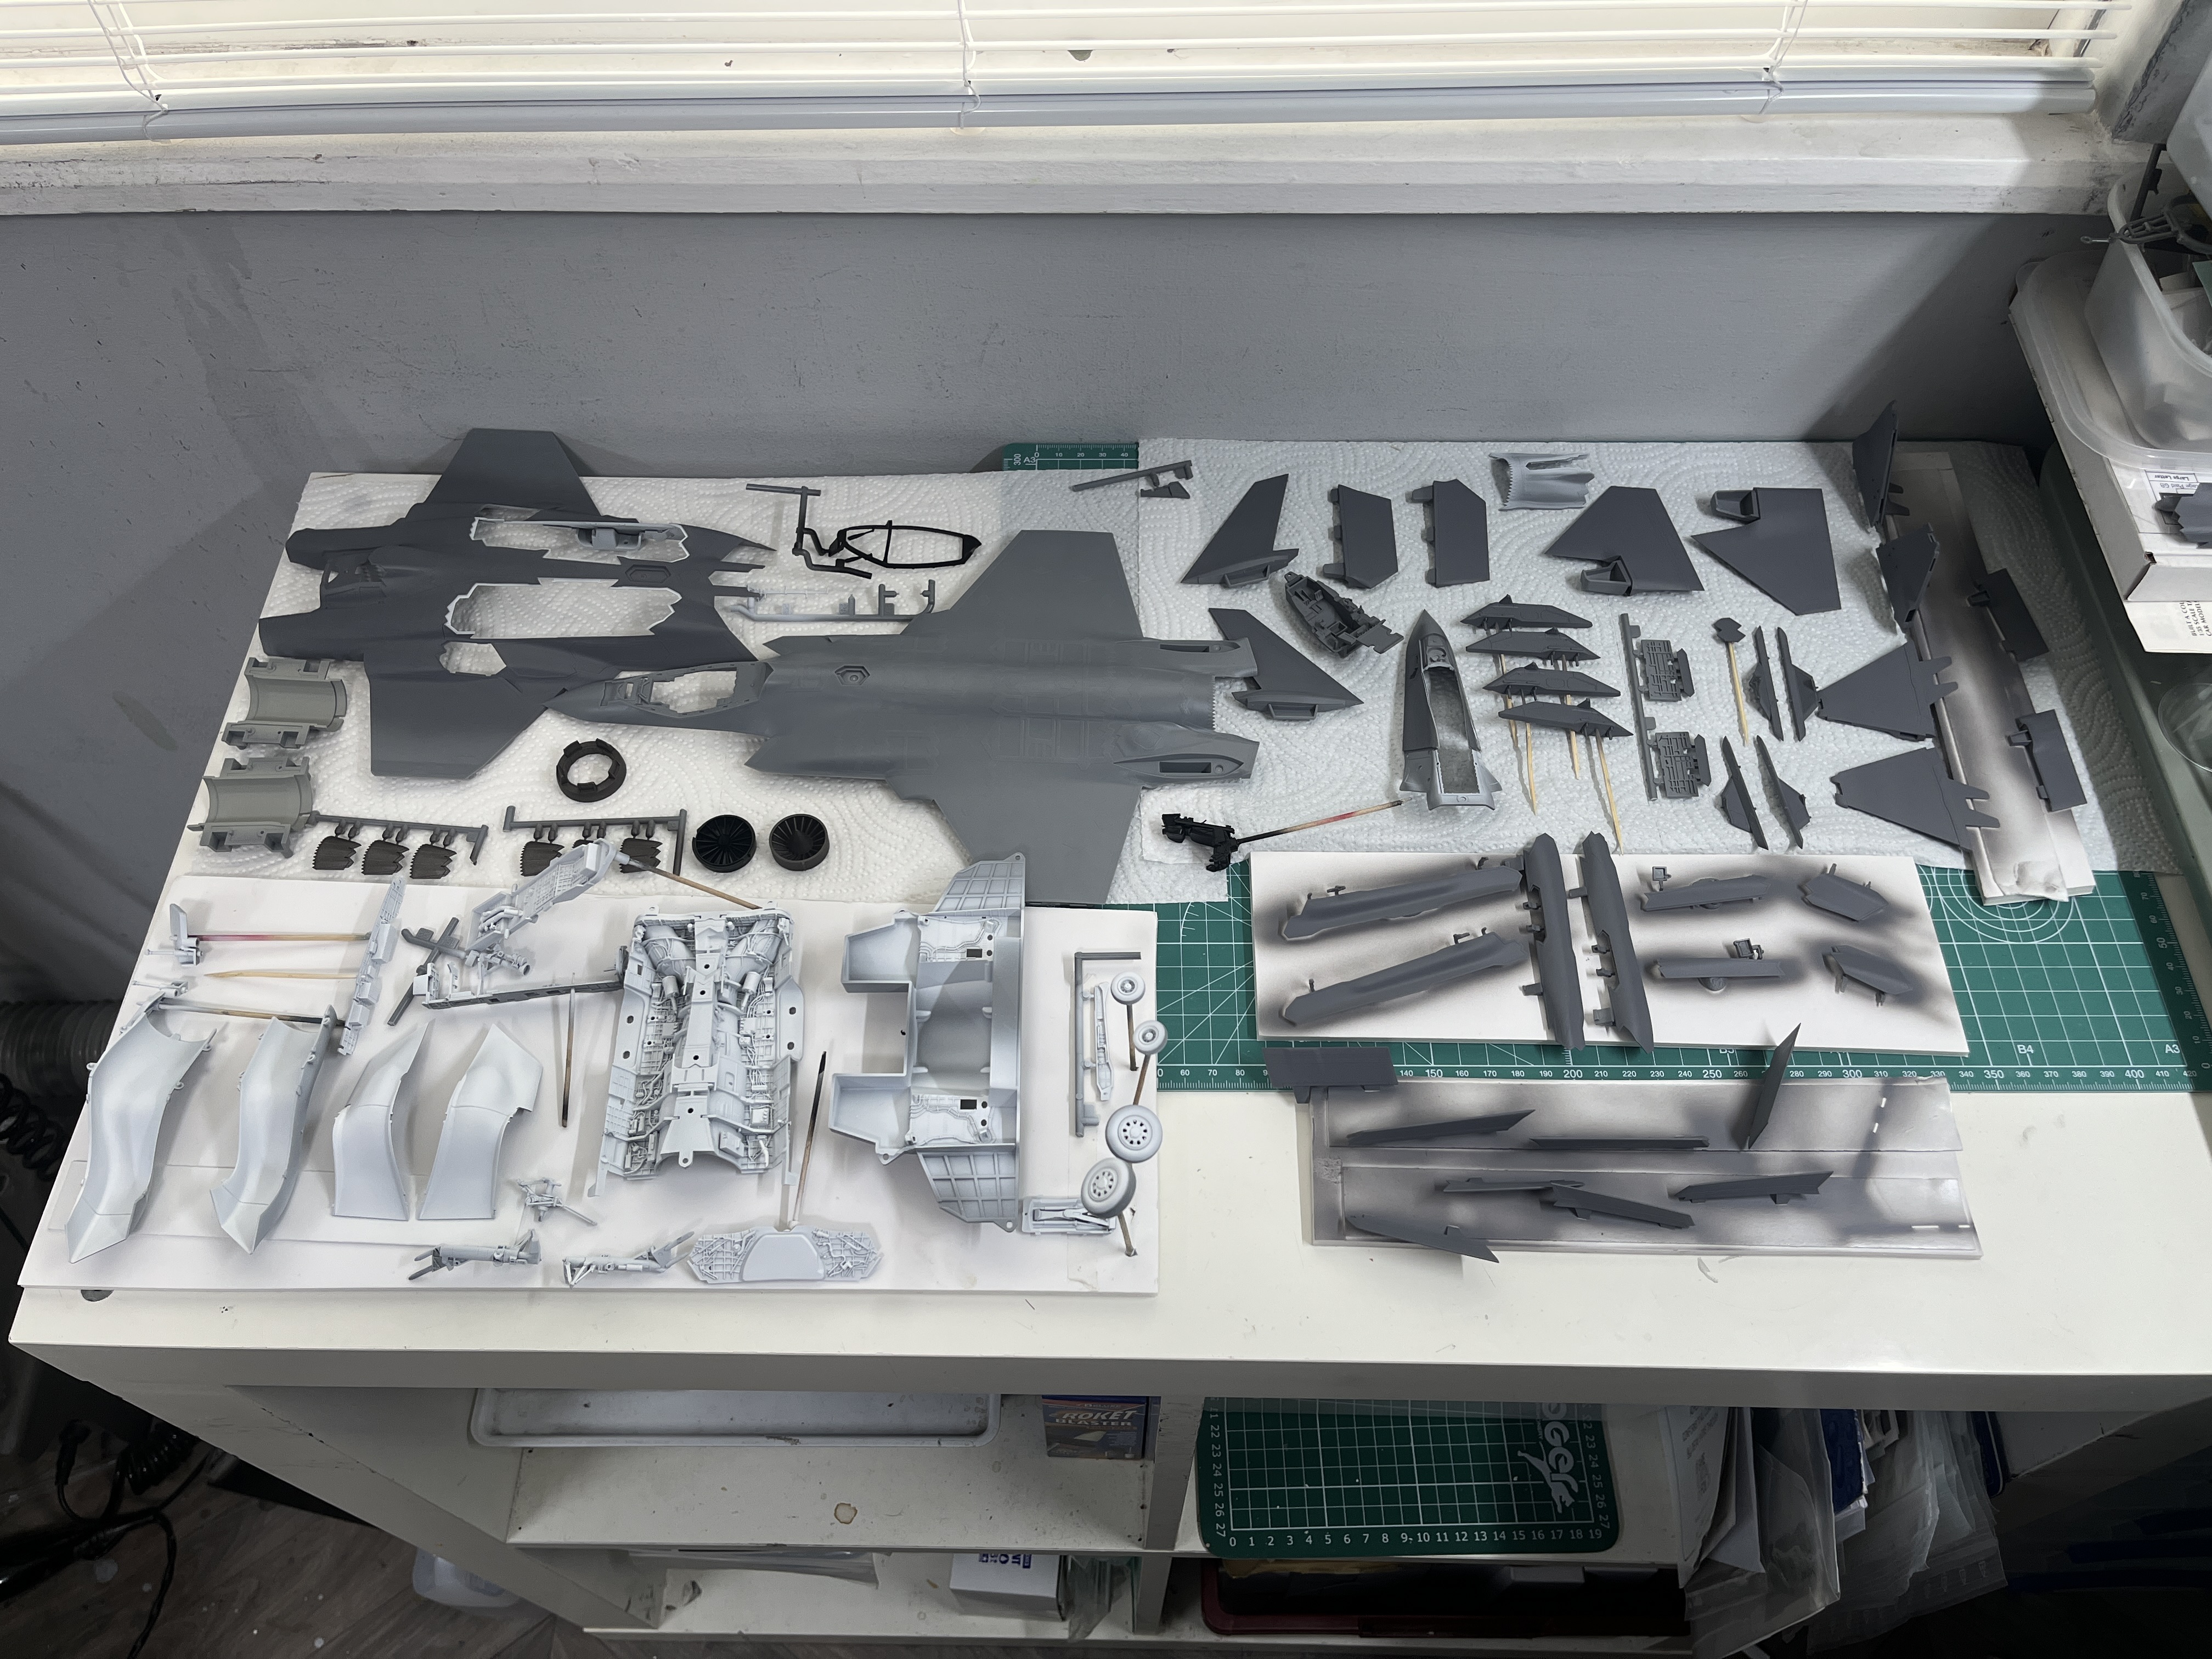
So today (and actually, much of yesterday) I’ve spent most of my time spraying all of my subassemblies in their base layers of snazzy white and a rather dull, dark grey. I now have a mountain of small bits and pieces that I will be able to further paint in the morning, with a number of those dark grey parts needing to have their internals bathed in the kind of white paint that helps those needing to keep these machines flying, see what they are doing where light and access is rather limited. Most of this will involve some careful masking, as will it some work with water-based acrylics and a fine paintbrush, both of which will no-doubt take time to complete.
Speaking of paintbrushes and trimming areas already sprayed, this is another part of the model where close tolerances between parts pays dividends, making life easier for the overworked reviewer: the inclusion of closed gear and weapons bay doors. These parts fit so well, you can spray the internals with white and then drop the panels in place, spray around them with grey and then once removed, the white edges are perfectly defined. It’s so simple, it almost feels like a cheat code for modellers.

Another day with more progress on the F-35C. In the morning I’ll carry on with that paintwork, using as I have, the new Tamiya colours designed for this model. Speaking of which, I was keen to seen how these colours matched my mixed shades from last year and have to say that they did so almost perfectly, which means that I am either lucky or a genius when it comes to the mixing of frankly dull, modern aircraft colours. I’m going with the latter, though I am sure others will no doubt disagree…
See you tomorrow.

Actually, there isn’t one of their 1980s-90s releases – till they got to the Swordfish and t he Mosquitos – that doesn’t have major accuracy problems, as is being shown by each Eduard release of a kit that Tamiya once did. “Ease of building” and “accuracy” are two unrelated activities.
LikeLike
I have to say they’ve used this approach in their full detail car kits for a long time too.
LikeLike
That Storch kit was a bit of a challenge with all the glass and taping, the rear seat area was begging for some detail the reference material showed but was fine wire and tissue addition required, the basic engine is fantastic but again fine wire addition for me to confidently display with the open panels. Maybe I’m too finicky, as a build from box kit it was brilliant and a welcome addition. No one has done this subject since Hasegawa and their 1/32 version, those slats and flaps were a bear.
LikeLike