
The first thing that strikes you about this kit is its simplicity. It’s been a while since I’ve opened a kit box and been shocked not by the number of parts, but rather the seeming lack of bits and pieces!

The Falklands War of 1982, seems today to be a distant memory, hazy images and newsreel footage being our only reminder of the unpleasantness that unfolded across those windswept islands during the late spring and early summer of that year. As an early teenager, I remember being transfixed by the reports on the evening news, feeling lost in the excitement of the combat that I could see, but would – thankfully – never experience. It cemented my love affair with the Harrier, and though I didn’t know it at the time my admiration for the Argentinian pilots whose bravery was lost amongst the jingoism of war.
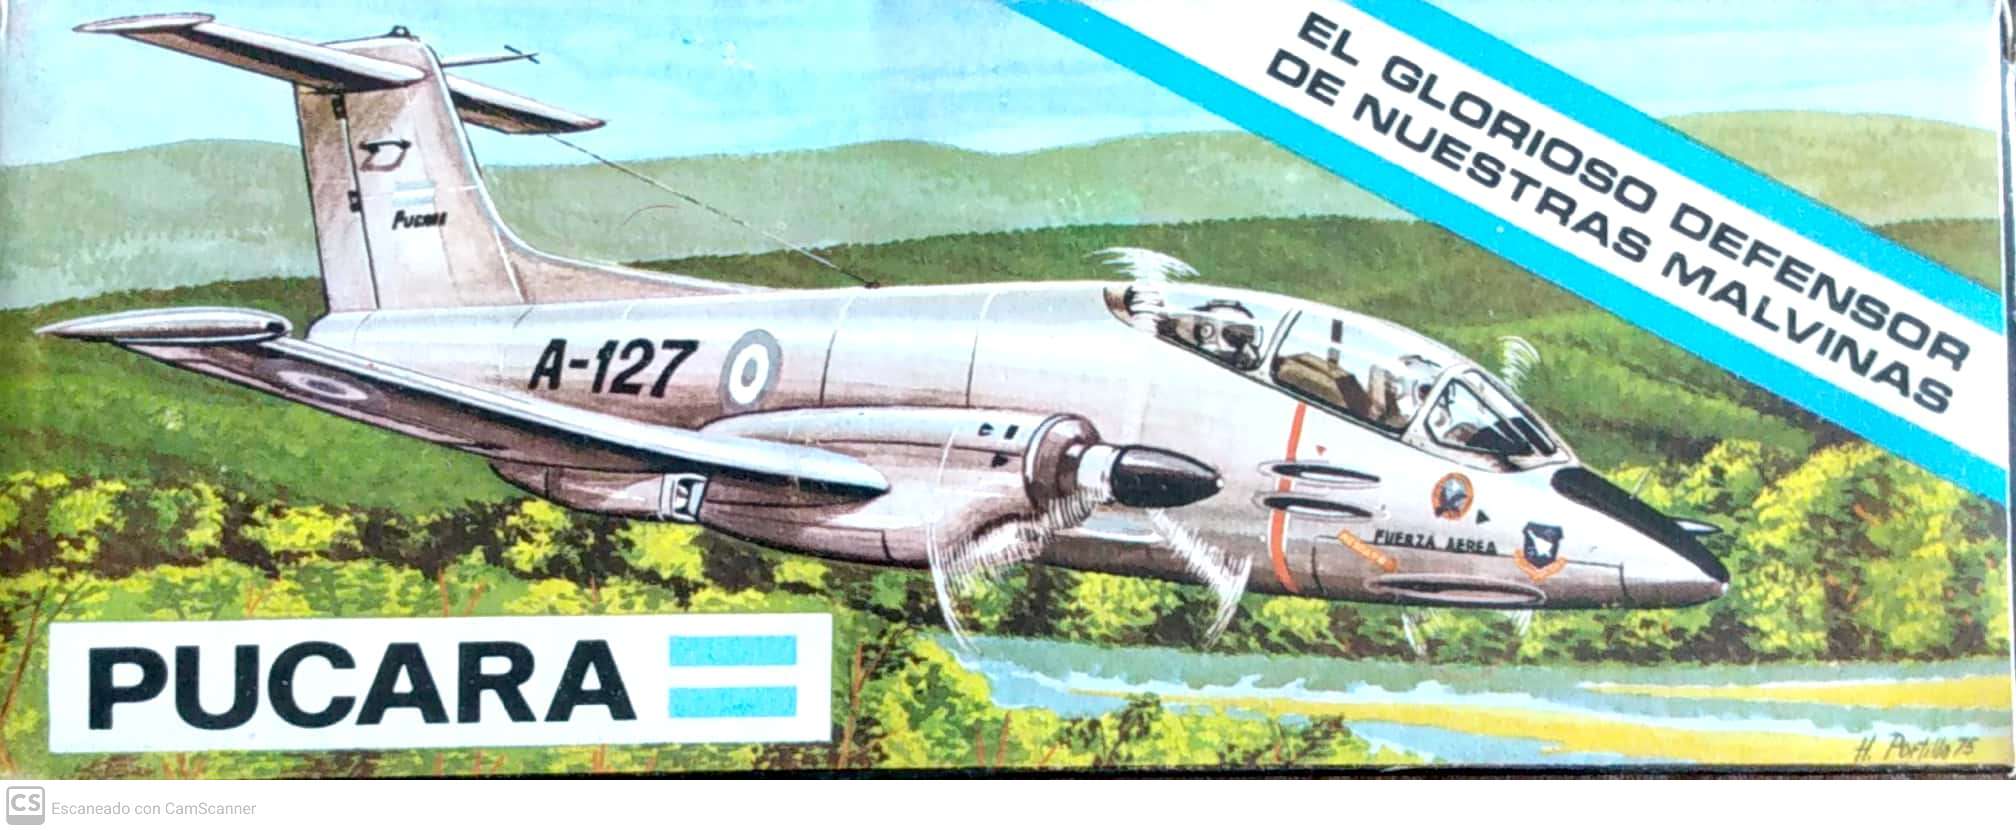
As a fan of military aviation, I was obviously aware of many of the aircraft seen in the footage, Harriers, Sea Harriers, Sea Kings and Chinooks, all being bread and butter to enthusiasts in the UK. The Argentinian aircraft though, were more enigmatic and though the sight of Skyhawks and Mirages was something familiar, one aircraft, featuring turboprops and a large tee-shaped tail, was not. That aircraft as I was to find out, was the FMA IA-58 Pucará.
IN MINIATURE…
Following the ceasefire, modellers around the world started to wake up to the idea of building this aircraft in miniature. At the time, kits were very few and far between, the late Great Geoff Prentice in his ‘Icarus’ column in Scale Models being particular excited when he received a kit from an Argentinian company named impressively, ‘Puky’.
He may have been happy to get the kit, but that pleasure soon dissipated as the awful quality of the contents became apparent. So it was not until Gordon Stevens sharpened his pencil and released a 1/72 vac-form under his now defunct Rareplanes label, that modellers could add this aircraft to their 1/72 collections.
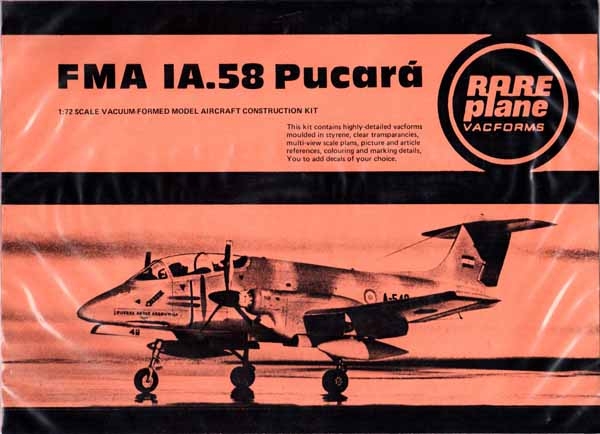
Accurate, relatively easy to build (something I would put to the test when I built one for a Military In Scale Falklands special during the mid-90s) it remained the only game in town until the likes of Special Hobby decided to chance their arm with another 1/72 release, a city that would be subsequently reboxed by Airfix for a number of releases, including a limited-edition ‘anniversary’ package offered to the Airfix Club members.

In 1/48 though, other than the odd resin kit from a variety of esoteric manufacturers, modellers have been less well served, needing to wait until 2021 to finally have a go at this aircraft in their preferred scale from a mainstream plastic kit. Having already dealt with a number of aircraft on the other side of the Falklands conflict, Kinetic has now tackled this large twin-engined attack aircraft and tackled it in style, the resulting model being a superb replica of FMA’s workhorse. But let’s not get ahead of ourselves, what can you expect should you chose to buy and build this kit for your own collection?
IN THE BOX

The first thing that strikes you about this kit is its simplicity. It’s been a while since I’ve opened a kit box and been shocked not by the number of parts, but rather the seeming lack of bits and pieces! Reminding me in many ways of a Hasegawa package, the kit features a minimum of parts, beautifully detailed cockpit and undercarriage bays, finely recessed panel lines, almost no weapons of note (despite the inclusion of two really superb MERs!) and perfect component fit. Glazing is also really well-done, there’s quite the tiniest decal sheet I’ve seen in some time (that features two different aircraft) and a set of instructions that would not have looked out of place in a kit released in 1975.
Let’s get those instructions out of the way right off the bat: they really are poor. Printed on what looks to be an in-house, desk-top printer, they offer a sensible route to the completion of construction, but very little else. The kit seemingly replicates two different machines: an Argentinian IA-85A and a Uruguayan IA-58D, not that you would know it from the instructions, both being referred to in the decal and painting guide as an IA-58A/D! It was only the inclusion of a spine aerial on the Uruguayan aircraft that set them apart and offered a hint as to what was what! In terms of painting instructions, the kit once again scores poorly, only a cursory tip of the hat being made to Ammo acrylics, none of which I have. This meant that not only did I have to flick to the front of the instructions to see what the codes meant where they appeared, I had to constantly refer to other references where in the majority of cases, where they did not. And then we come to the painting and decalling guide, this is so poorly drawn and printed, it is almost impossible to see what is going on. The frustration is then exacerbated by the complete lack of information as to the colours used. I get the tie-in with AMMO I really do, but it’s not good enough to just offer their codes and some FS numbers, with no further information regarding the actual colours used on the real machine. Though the FS numbers are listed, their names are not and that, combined with the 1970’s quality printing, makes the finishing of the model more frustrating than it needs to be. Sure, the instructions tell you that by visiting the Kinetic website you will find a coloured schematic for the two choices offered, but honestly, why should you have to do that for a mainstream kit created in 2021? As it turned out, I picked another scheme that was offered in the kit, but I would have been mightily confused by what was needed if I had had to rely on the instructions supplied…
Moving on. It’s been a while since I’ve seen a kit this bare-bones, but that in no way diminishes what Kinetic have achieved here, because the plastic parts really are magnificent. From the nicely detailed cockpit, thought to the superb undercarriage and bays and on to the delicate and comprehensively rendered surface detailed, the kit oozes class. Parts count is kept low thanks to clever component design, which in turn helps make this kit extremely easy to build. Indeed, other than the need to weight the nose (which we will come back to later on) this is no more complex than a beginner’s kit, only the small number of photo-etched details likely to elevate it above that level.
The simplicity of Kinetic’s approach obviously doesn’t allow for such things as open panels, but it does allow for drooped flaps (but not retracted; indeed, everything is designed to be open, dropped and drooped!) but nothing approaching a complete weapons load. Personally, I like having tanks under the wings of my models, so the lack of any whizz-bangs was not that much of a compromise. Having said that though, the inclusion of two Multiple Ejector Racks (MERs) and no bombs or rocket pods, was something of a head-scratcher. Hasegawa weapons sets or a deep spares box will be your friends here or you could as I did, note the omissions, use the tanks and then move on…
GETTING STARTED
Construction begins with the cockpit and ejection seats. This the first area that you tackle and the first that points towards the simplifications that have defined this feature. The tub and wheel bay for instance are essentially one part each, separate bulkheads and then instrument panels, control columns and rudder pedals, being the parts that complete the picture. Indeed, the seats are the most complex part of the cockpit, the 8 plastic parts and then 6 etched straps, combining well to create nicely detailed replicas of the Martin Baker MK.6 units used in the Pucará. The straps, though welcome, don’t really replicate those found on the real seat, nor are they complete, only the shoulder harness being included and not the lap straps. As it was, I compromised by splitting the two in order to create a seat that looked complete, if not entirely accurate…

The rest of the airframe follows suit. Despite being a large aircraft the kit is broken down into as small a number of parts as possible. Not only does this simplify construction, it also cuts down on the amount of cleaning up that you will need to do, many of the components being split along natural panel lines. Fit is so good that you only need to a brush full of cement to create very natural looking panels, only the upper and lower fuselage joints and then wing leading edges, needing much in the way of clean-up. In total, I spent little more than a couple of hours building the airframe ready for painting, and that included any sanding of what few joints needed my attention – when was the last time you could say that?
A number of areas are worthy of note. The first concerns the fit of the tailplanes. Though not exactly poor, I did find that a little attention with a file and No.10 scalpel blade ensured that the each one was tight and almost gap-free. Initially, I’d planned to keep them separate and then offer them up to the fin once the model had been painted and weathered. As it turned out, I wasn’t convinced that the fit would be as tidy as I would like, so opted to glue them to the fin and then paint in situ. This was a wise move, a small amount of Mr. Surfacer being needed around their union with the fin, both laterally and around the leading edge where all three parts, fin and two tailplanes, met. The second area of concern is the underfuselage seam and the joint between the lower wing panel and fuselage. I mentioned earlier that the joints all fall on natural panel lines and that is the case here. The problem –– if you can call it that –– is a small gap that was present on my build, a discrepancy that needed to be once again, sanded and filled. The longitudinal joint that runs down the underside of the fuselage also needed attention to eliminate a ghost seam, AMMO’s Back Superglue being used to ensure that nothing appeared under the final paint finish. Indeed, this was repeated over all of the fuselage joints, just to be certain that the joints remained perfectly smooth – not entirely necessary, but better to be safe than sorry!
Before painting began, the undercarriage could be assembled, drop tanks built and canopy masked, all of which can be seen in more detail with the photographic content of this feature. The undercarriage really is a highlight of this kit, the gangly look of the original being captured to a tee. Detail is superb as is the level of finesse that Kinetic has managed to capture, seemingly without compromising the strength needed to carry the rest of the model. Why, you may ask, is this important? Well, the Pucará is a notorious tail-sitter, so you need a considerable amount of weight to balance out its centre of gravity enough for the model to sit on all three legs. In practice, I used around 35g of weight, so was happy that the legs could stand up to the strain with little evidence –– so far at least –– that they will collapse, any time soon!
Construction is rounded off with those tanks, some smaller details that define the Alpha and Delta variants and then the canopy, windscreen and navigation lights. With the glazing being such a recognisable feature of the Pucará it is pleasing that they have captured the shape of the windscreen and canopy so well. I took a look at many of the other kits that have been released over the years of this aircraft and none has really replicated these areas properly, shapes and the size of the surrounding framework being off in almost every case. Here though, both have been modelled perfectly. Along with their inherent accuracy, the parts were super-clear and the fit, especially that betwixt windscreen and fuselage, absolutely spot-on. The same can be said of the remaining clear parts, delicate little mouldings that deal with all of the aircraft’s navigation and landing lights, as well as the tiny HUD glass that sits under the windscreen.

As mentioned early, the kit includes a small decal sheet that offers two different aircraft. Created by TwoBobs Decals, the choices are as follows:
- FMA IA-58A Pucará of the Argentinian Air Force, as flown by Major Carlos Tomba. Light green and pale tan camouflage over light blue undersides, yellow recognition bands on the wings and fin.
- FMA IA-58D Pucará of the Uruguayan Air Force. Dark Grey and Dark Green camouflage, over Light Grey undersides. Aircraft features hog’s head nose decor.
Though small, the decal sheet is superb, offering everything that you need to decorate your model. As you can see from the completed model shots I chose to build something different, opting for an Argentinian aircraft in its distinctive, anodised metal finish. Though I like the camouflaged machines, that metal finish was simply too much to resist!


FINAL THOUGHTS…
The modelling world has waited a long time for a kit of this aircraft in this scale, in plastic. When Kinetic announced that they would be tackling it and the first tantalising glimpses of the parts started to appear Online, we knew that the wait would be worth it. Having the kit to build and now seeing it finished, I can say with some conviction that Kinetic has created a really fine replica of this aircraft, from a kit that is a joy to build. It’s simple in concept, fits together almost flawlessly and once on your workbench, looks every inch a Pucará. Sure, there are compromises, with the lack of weapons being something that’s hard to fathom, but given its low retail price, those are things that can be dealt with, without further breaking the bank.
I really enjoyed building this and would happily tackle another, which I may indeed do for MAI’s sister magazine, Tamiya Model Magazine International, though maybe not in another anodised scheme! Thanks go out to Russ at Jadlam who supplied the kit for me to build, and who should hold stocks for those of you keen to have a go at this kit for your own collections. Highly recommended!
If you would like to read more about this model and the way that it was put together and painted, please check out the July 2021 edition of Model Airplane International magazine. You can now buy back issues of this edition by following this link to the back editions page.

KIT AVAILABILITY
If you would like to buy this kit for your collection, please visit the Jadlam Toys & Models website, where you will find all the information that you will need. My thanks got out to Jadlam for the sample that was built for my MAI feature and this website update.

LET ME TELL YOU WHEN I POST NEW MATERIAL!
If you have enjoyed reading this, please subscribe to this website with your email address. By doing that, you will be notified whenever I upload new material each week. You can simply subscribe using the box that you will find on the homepage of this website.
Thanks a lot – I look forward to hearing from you!


Yeah, this kit has been Kit Of The Year to me since I did it. Even with all the other amazing stuff that came out this year, I think it’s still the Main Contender.
I love you did the anodized scheme. I did that (never again!) and then “field applied” the camouflage for a very interesting final result. I am sure you would agree these schemes made painting the major part of the project.
So far I haven’t seen a complaint about this kit in any review other than things like the instructions you note and the decal sheet (incorrect font, I am told).
Beautiful result, Spencer.
LikeLike
An absolutely beautiful model of an aeroplane that still makes my blood run cold all these years later.
LikeLike
I just got one as its one of those ugly but cool aircraft like the A-10 but also a twin which I don’t have a lot of outside the Dragn Bf-110 and a couple of 1/32 Mosquito’s in the stash.
I bought the 2 Bobs Foreign User/Special Schemes sheet and plan to do the Red and White test scheme. The Aztec sheet looks really cool though so may need to get a 2nd (and probably a 3rd). The stash illness continues 😉
LikeLike