
7th October 2025

Having decided yesterday that my 1/24 Harrier needed some TLC, today has been another period of work to try and bring it back to life.
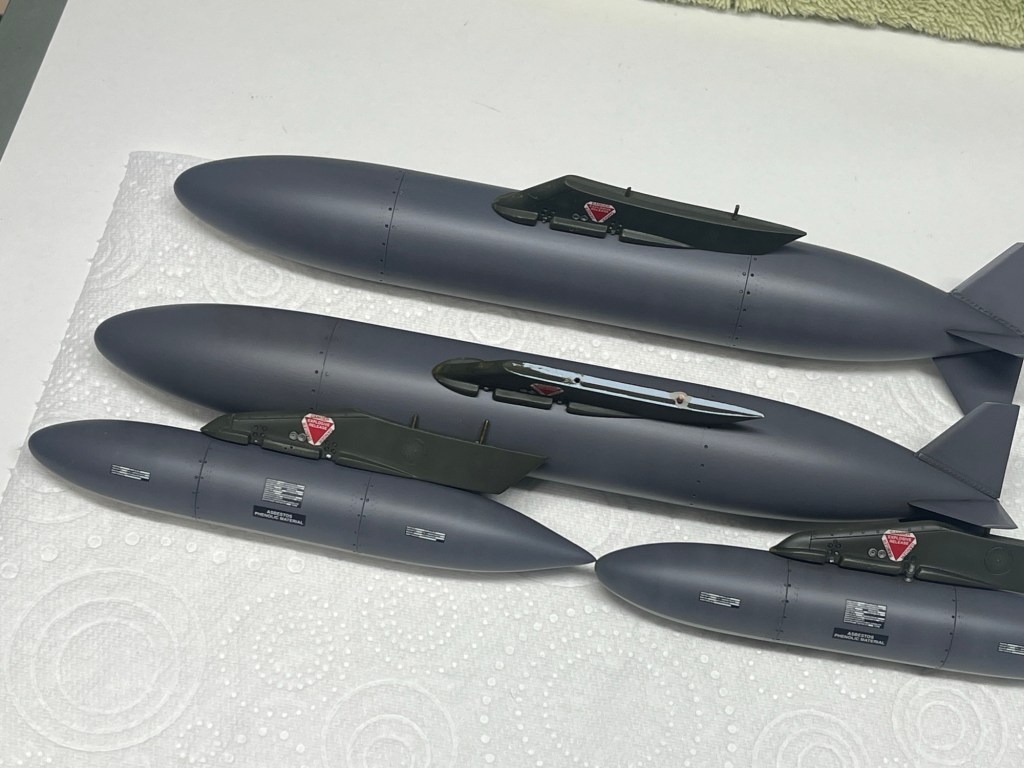
Having cleaned it and then removed some of the more fragile parts, this morning was spent carrying out further disassembly, all underwing stores and the now very wobbly outriggers being removed ready to be cleaned and in some cases repainted ready to be reattached over the next few days.
Looking at it this morning, I was struck by how scruffy parts of it had become, how much I compromised the finish ten years ago and how far my painting and weathering has come in that time. Removing parts revealed areas that I’d not really focussed on too much, so this period of restoration has given me the chance to right some wrongs and bring the whole thing up to the levels I would expect in 2025, rather than 2016 when the model was first completed.

Removing the delicate parts was a step that made me a little nervous, but thanks to my use of superglue that had become brittle over time, most things could be cracked away from the main airframe with relative ease. Some parts, such as the crutch locks around the pylons broke off as the tanks were removed, but these will be easy to glue back in place once the pylons and tanks are rejoined in the morning.
My biggest concern was the need to clean up the open canopies sections, dust having clung to each one in a most alarming fashion. Though I attempted to clean them up in situ, that proved ineffective so I had no option but to remove them and then clean and polish each one separately. Small details parted company with the canopies during this process, but once again, that should be easy enough to repair when the time comes.

The most time consuming task has been the removal of dust, grease and in places, fly muck, from the surface of the model. Not only did this take time to complete, the work created uneven degrees of patina over the surface of the model, which I found less than appealing! That being so, once clean, I sprayed everything with a layer of VMS XXL Satin to smooth out the surfaces and create a wonderfully consistent, low-level sheen. This material was also used over all of the smaller parts, everything now looking essentially new rather than ten years old.
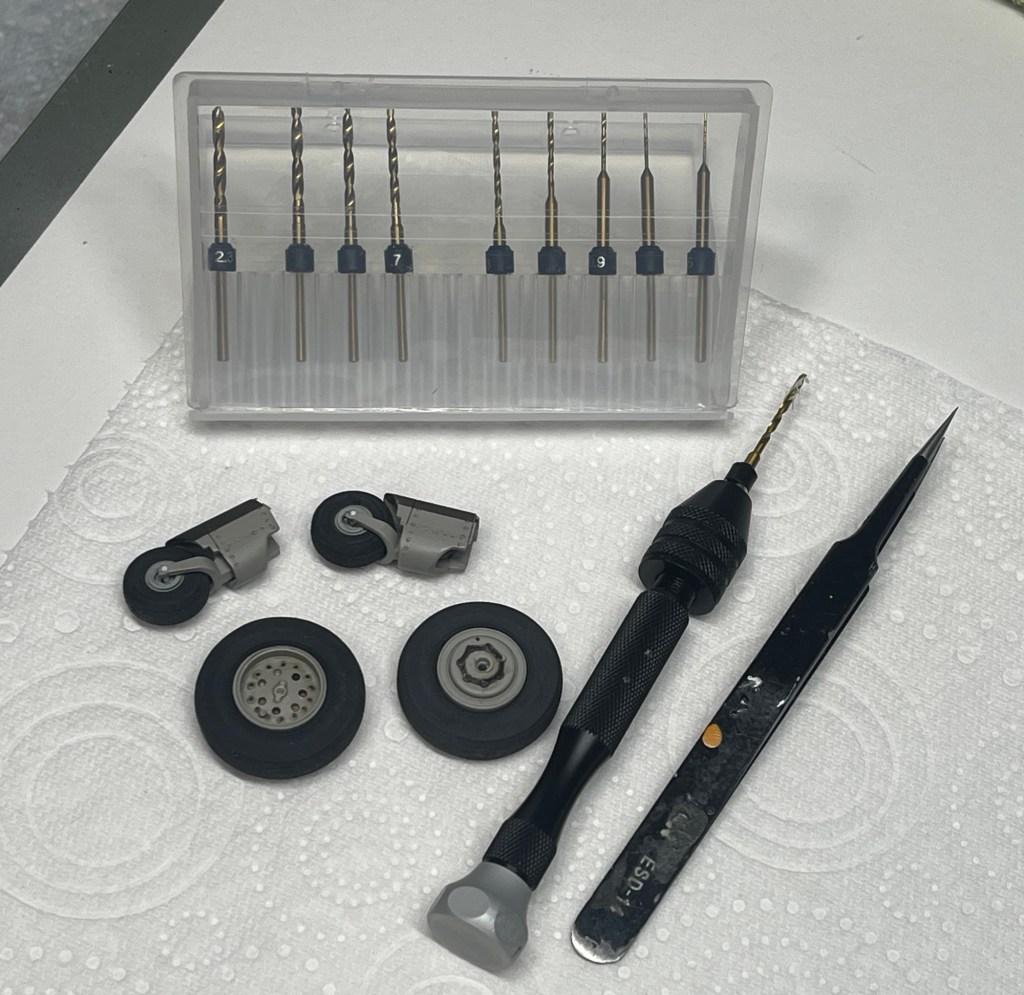
The morning will be taken up with some additional weathering I think, as well as some reassembly. I have some plans to improve the cockpit, as well as the undercarriage which is now a little more solid than it previously was. That should then only leave some detail painting here and there and the model will be back to where it needs to be.
See you tomorrow.

0 comments on “A MODELMAKER’S LIFE: HARRIER RESTORATION, DAY TWO…”