
As this was something that I was keen to replicate, I spent some time checking out my reference images and then trying as closely as possible to replicate what I could see.
22nd June 2025
With the news coming out of the Middle East overnight, I can’t say I was overly enthusiastic today, but even so, I spent a few hours working on the Jaguar and some of its smaller details.
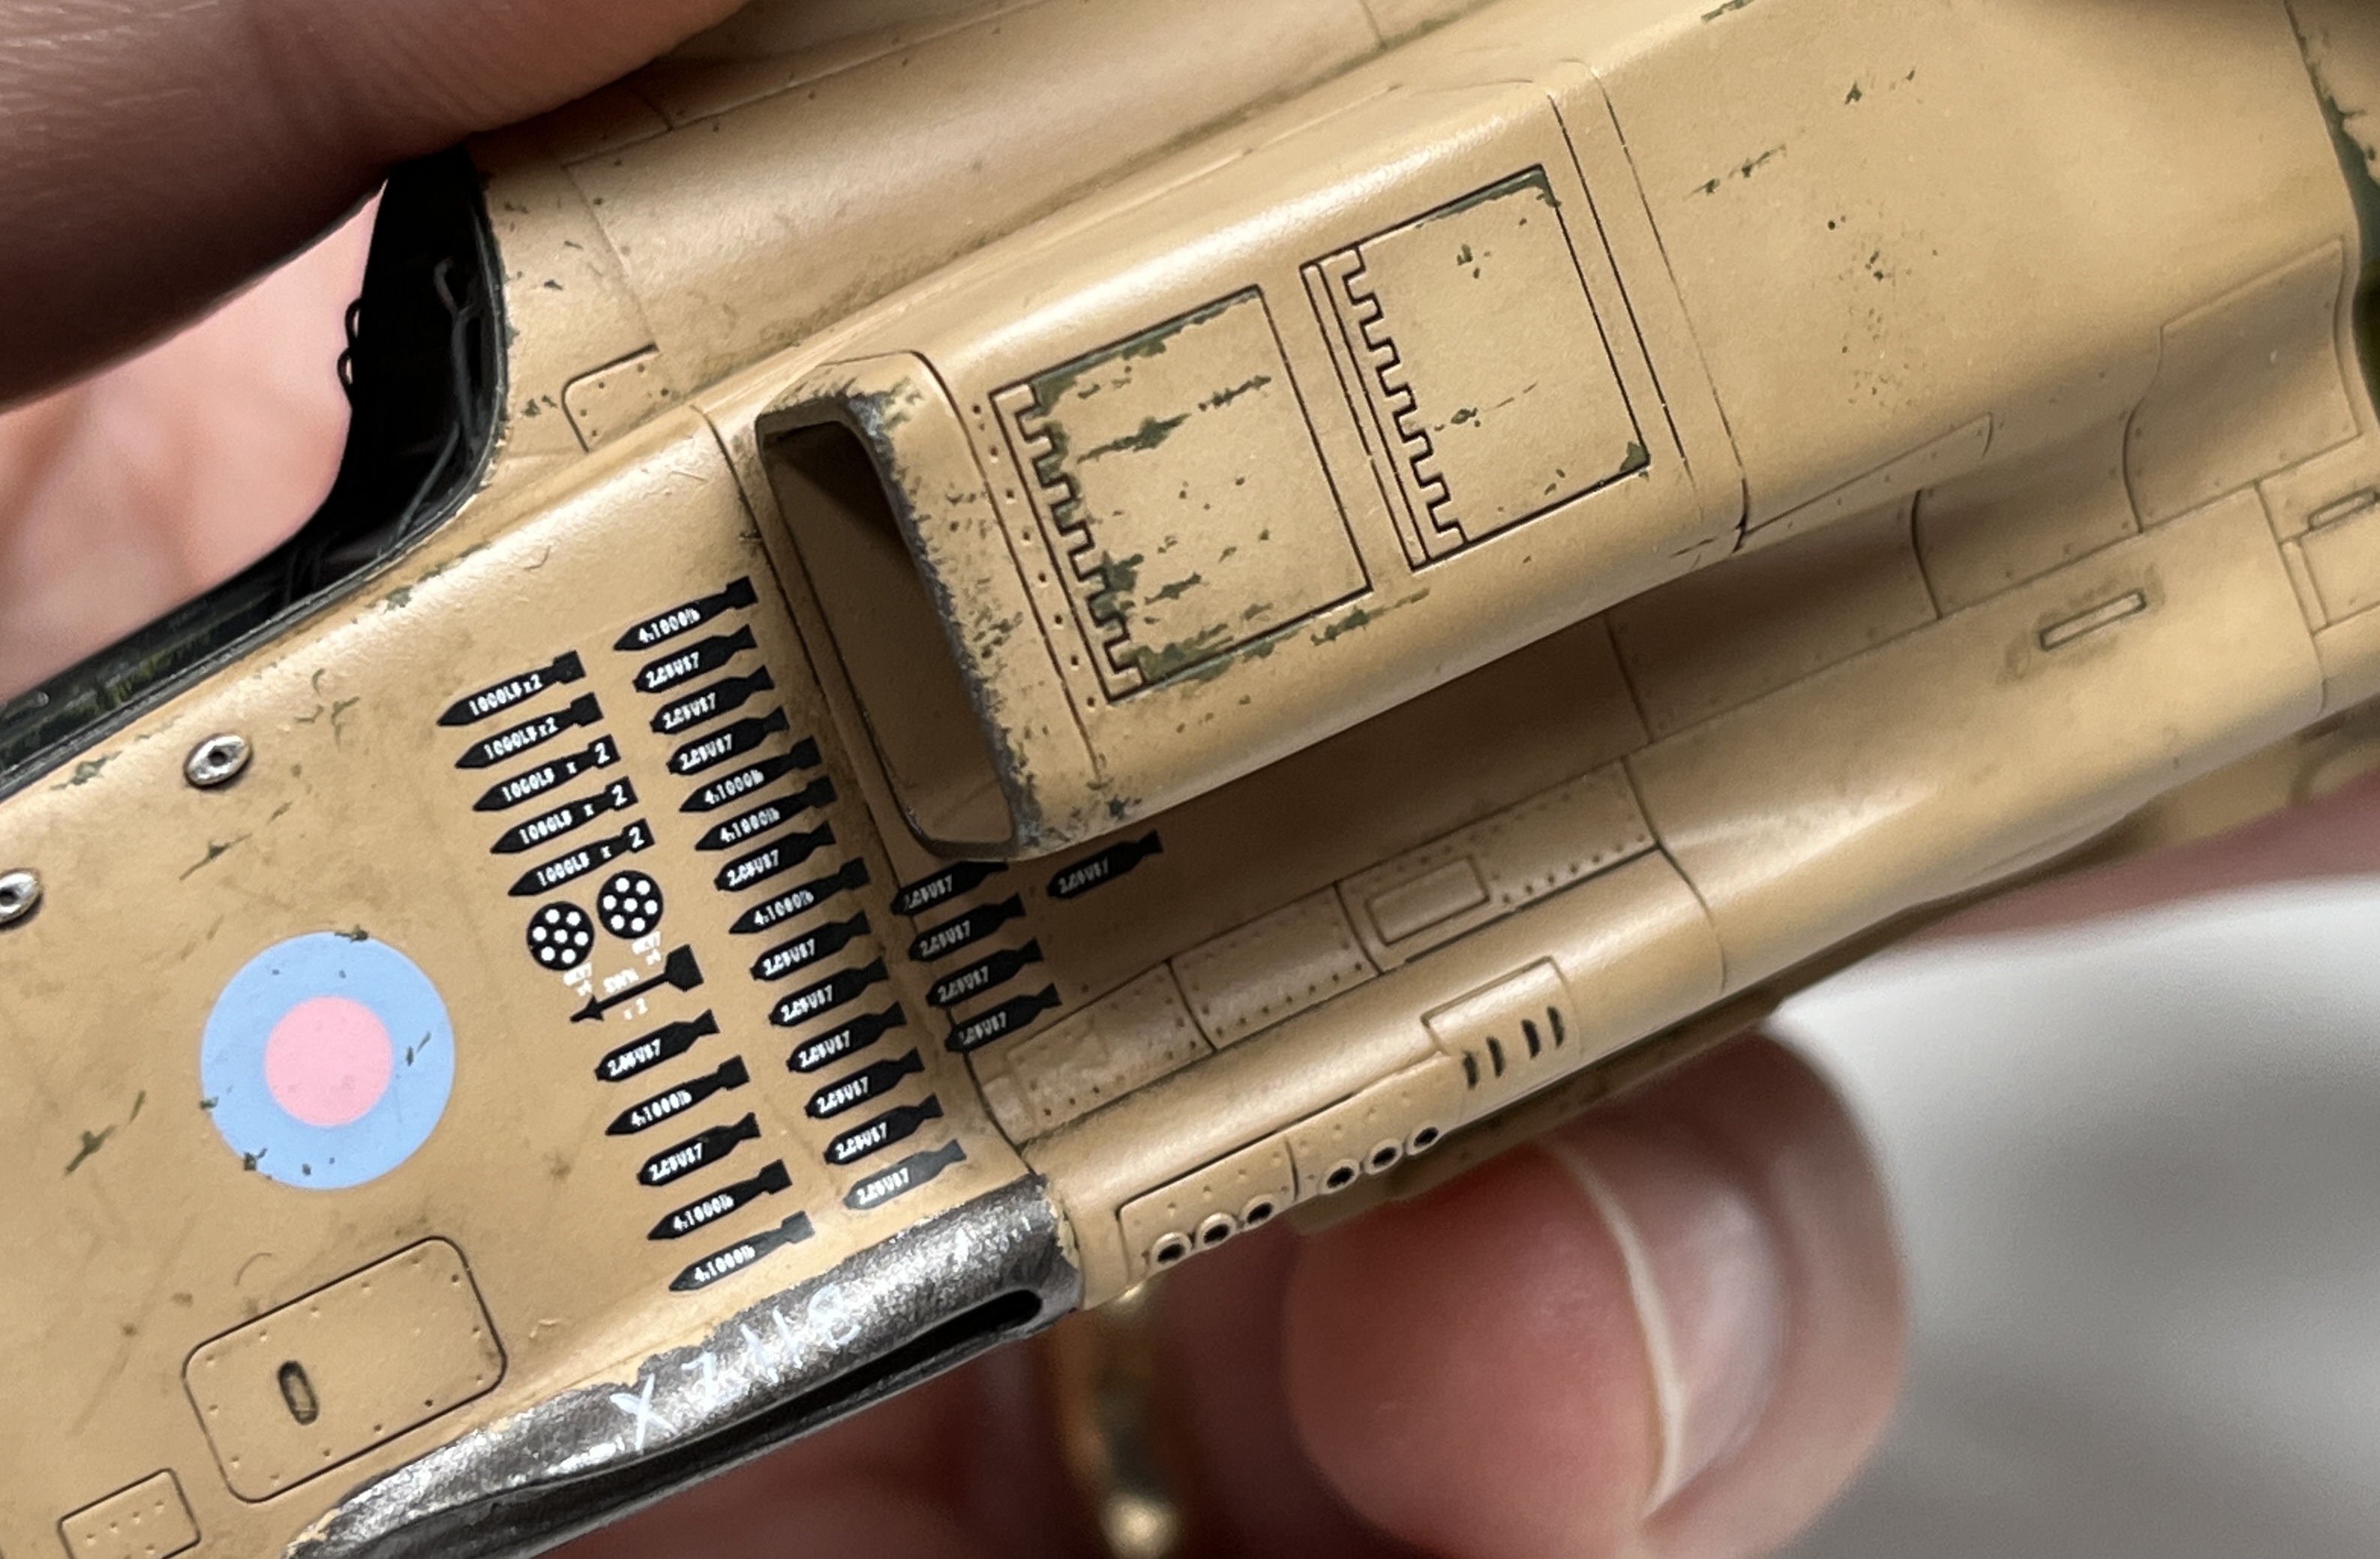
Like many involved projects, this one is now coming down to the final layers of camouflage paint and then the completion of the smaller details, including over the last few days the undercarriage legs and their complex doors.
Having already assembled and detailed the legs, painting them was a fairly straightforward process, needing little more than an overall layer of Light Aircraft Grey and then some detail painting with acrylics and weathering with oils. At least, that’s what I thought. It was only when I started to weather the legs and try to recreate what I could see in my reference images, that things started to go sideways…
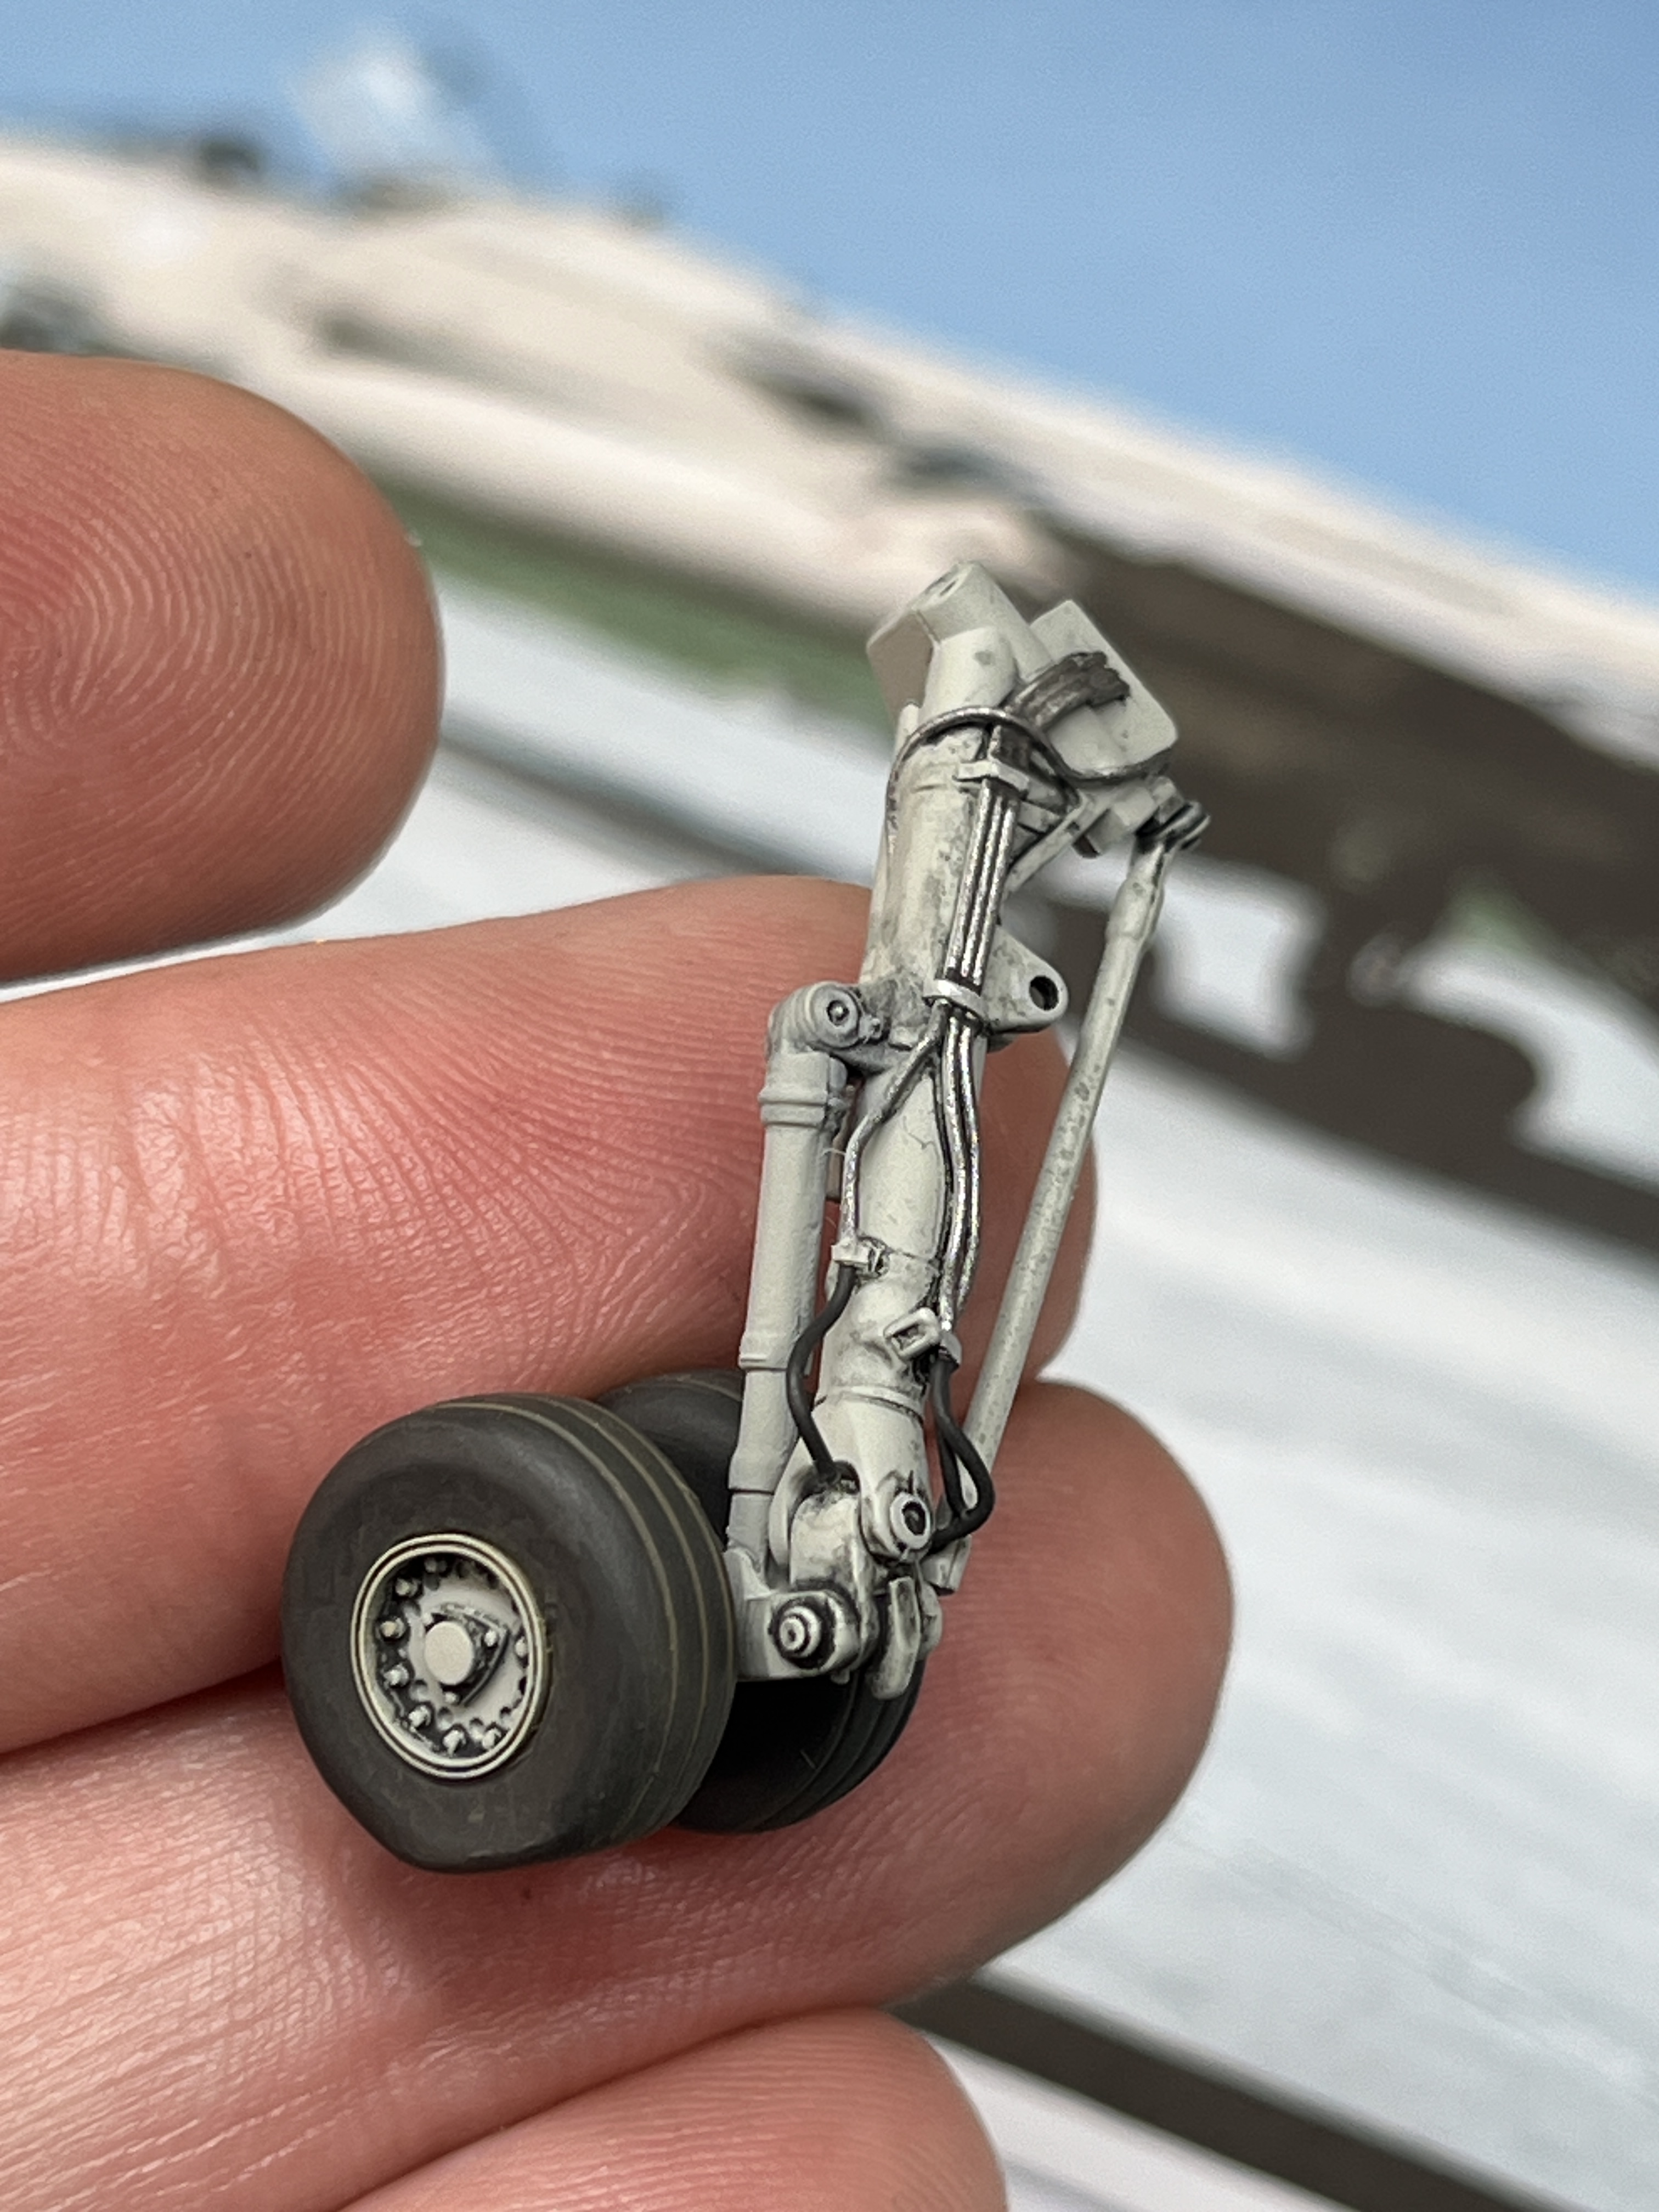
Due to the light colour that I’d used to paint the legs, the washes that used to define the detail really seemed to be far to dark need a lot of work to look like subtle shadows and not hamfistedly applied paint. A soft brush, some thinners and a few cotton buds worked well here, taking back the AMMO Panel Line Wash to an intensity more in line with my projected look. It was a long job though. Everything time I thought I had each one where I needed them to be, I would disturb some surrounding paintwork, having to go back and repeat the previous step. Thankfully, it was much cooler today so the paint worked as advertised which is something that it has most definitely not been doing, over the last week or so! The wheels incidentally are from Phase Hanger Resin, their heightened levels of detail adding immeasurably to the look of the completed model.
Along with the smaller bits and pieces, I’ve also worked on the weathering or more particularly, the paint chips. My reference images showed these to be very restrained on the jet I was modelling with distinctive patterns of wear. As this was something that I was keen to replicate, I spent some time checking out my reference images and then trying as closely as possible to replicate what I could see. More AK acrylics, some sponges and a fine brush, dealt with this step in the model’s construction and painting.
A few days and my Jaguar will be done and finally, I should be able to construct a cover for my new book! It seems to have been a longer build than I had planned, but I have to say that I’ve enjoyed every minute of it so far. So much so in fact, I already have another one planned out…

See you tomorrow.

Landing gear legs and wheel/tires, a bane to modelers. Shading, shadows, the correct flatness of the tires on concrete. Are all the tire/wheels at the correct angle, what a headache. When there are those stainless steel bands for the hydraulics how to keep the correct sheen. Sometimes there’s more work involved on those than the cockpit, but when they’re finally done, WOW. If they’re slightly off the opposite, dud. The old grass, dirt, sand and gravel of WW2 made life a little easier, the simplicity of those times helped too.
LikeLike
Great work by the way. I’ve always admired you dedication to detail.
LikeLike