
That being so, I returned to a set of steps that I last used at least 20 years ago: dipping the markings in Johnson Klear and then applying those wet markings to the model.
10th April 2025

Over the many years I’ve been building models, the last 30 as a full-time job, I’ve amassed a huge number of techniques from which to draw. Most have been useful. Some have been consigned to history. A few have been filed in the dusty corners of my mind under the heading ‘might come in useful one day’. Just such a technique came into play this morning…
As you may or may not know, I’m in the process of completing Aerocraft’s Miles M.52. A large model, predominantly painted in bright yellow, it has ultra smooth surfaces with little detail, and as of this morning, a very smooth matt finish.
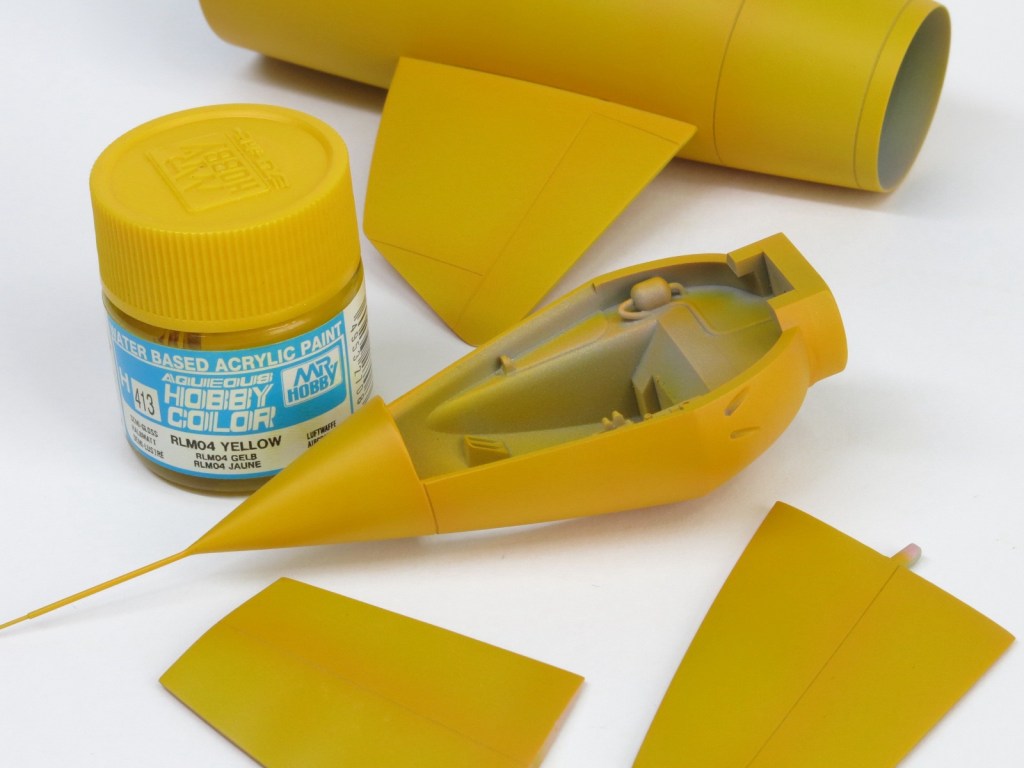
The model needed decals which would normally require a gloss coat, but such was the size of the model and the limited number of markings, I was loathed to overspray that carefully crafted yellow finish, potentially ruining its smooth surface along the way.
That being so, I returned to a set of steps that I last used at least 20 years ago: dipping the markings in Johnson Klear and then applying those wet markings to the model. This technique creates essentially a collection of preglossed markings that trap a gloss layer between the markings and the paintwork, reducing the chance of silvering to virtually nil without the need for either a preparatory layer of gloss varnish or setting/softening solutions. Once dry, the decals can be sealed in as normal (in this case with VMS XXL Satin) almost as soon as the decals have dried out.
I’m happy to announce that the model is now fully painted and decalled. My older method of decal application working like a charm, absolutely no further work being needed on any of the markings, particularly the prototype ‘P’ and the ‘U.52’ serial found on the flanks of the machine. Both of these were printed with large areas of carrier film, so seeing them look so pleasing in place, was more than a relief!
I’ll finish this relatively quick build in the morning, only the undercarriage and some final assembly being required. Once done, I’ll reveal more details of my build on here, including what I think is a pleasing reimagining of a possible colour scheme…
See you tomorrow.

A great result Spence!
LikeLike
Thanks, that is a great idea. Just a question. Would you use decal setting solution over it or is it just for smooth surfaces?
LikeLike
Does that technique involve soaking the deca off the backing sheet and then dipping into Klear before attaching to the model?
LikeLike